Quick Guide
Step 1: Base Station
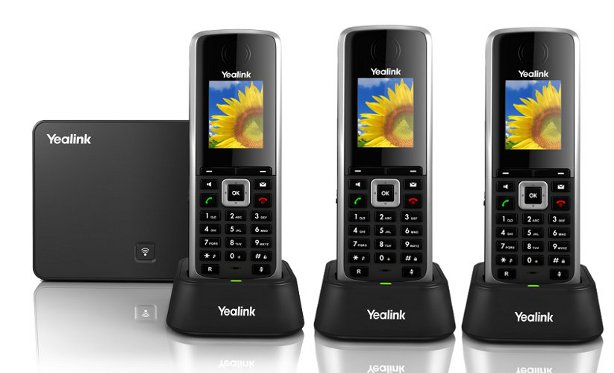
- The W52P base station can be powered by the supplied 120/240v adaptor or alternately from a POE switch.
- Install the 2 x AAA rechargeable batteries into the handset (and recharge if required).
- Enter the IP address in your browser (eg 192.168.1.xx).
- To find the base station web UI IP address press the front button on the base station to communicate its IP address to the handset.
- UserName and Password: Admin- admin, Password- admin
- Click Confirm
Step 2: Account Tab
- Select Account tab. (or another unused account if Account 1 is in use).
- Account Active: On
- Label: Name Your Name
- Display Name: Displays on your telephone phone screen when idle.
- Register Name: Full DID eg 442034567890
- User Name: Full DID eg 442034567890
- Password: is the password associated with the phone number.
- Enable Outbound Proxy: Disabled
- Transport: TLS preferred (or UDP)
- SIP Server 1: phone.tel2.co.uk
- Port: 5060
- Server Expires: 180
- Voice Mail: *55
- NAT Traversal: Disabled
- Confirm: to Save
Step 3: Phone Tab
- Select Phone Tab
- Select Country: Australia
- Set Time Zone: +0 United Kingdom Primary NTP >> uk.pool.ntp.org (CONFIRM)
- DSS Keys: Phone Tab | DSS Key >> use this to assign a variety of standard functions to the T28 10 function keys on the right side of the phone.
- At bottom: Select Confirm
Step 4: Date and Time Settings
- Time Zone: eg +0 United Kingdom | Location: United Kingdom(London)
- Daylight Saving: Automatic
- Location: eg United Kingdom (London)
- Fixed Type: By Week
- Primary Server: uk.pool.ntp.org
Step 5: Contacts
Contacts can be imported into the W52P from either as XML or CSV imports.
- File Template: To access either XML or CSV download the file template
- Import Contacts: Edit the file and import.
- Handset: To access your imported contacts list select the DOWN arrow on the phones OK menu