Microsoft Teams Integration Setup Instructions
Setup your Microsoft Teams environment
This guide does not explain how to setup Microsoft Teams. The assumption is that you already have a Teams environment with Microsoft, your own domain(s) and users setup and this guide is focussed purely on how to connect with that environment to provide incoming and outgoing calls to the PSTN along with providing phone numbers to your end users.
If you would like some guides on getting Microsoft Teams setup for your business then follow the useful links below:
https://docs.microsoft.com/en-us/MicrosoftTeams/teams-overview
https://support.office.com/en-us/teams
Microsoft Licenses Required for Phone System Integration
To enable Phone services for Microsoft Teams you need to have a 'phone system license' for each of your users that wish to have this functionality. Here is a useful guide to licensing:
In the Enterprise space you can add either an E1, E3 or E5 license for a user and this will give you the functionality you need to enable phone services for that user. You can also look at adding a phone system license 'Add-on' to give you this functionality if this is available on your current Office 365 license.
Step by Step Example Guide
Every customer is different when it comes to Teams Integration so there is no 'one guide suits all' for getting setup with Teams. However, we decided to put together a step by step guide for a 'vanilla' customer who is new to Teams and looking to signup to Teams with 3 users and then map 3 phone lines to those users. The guide below is a record of that process with detailed screenshots and could be useful for system integrators to see the steps involved in a 'new' install.
https://herotel.uk/teamssetupguide.html
Domain Verification and Trunk Setup
Assuming you already have your own domain setup with Microsoft you now need to setup our Teams SBC domain and get this verified. If you have not set up any domain yet with Microsoft for your organisation then please see our-by-step guide for this above.
First you need to login to login to the Microsoft Admin Center using your Microsoft Login:
https://admin.microsoft.com/AdminPortal/Home#/Domains
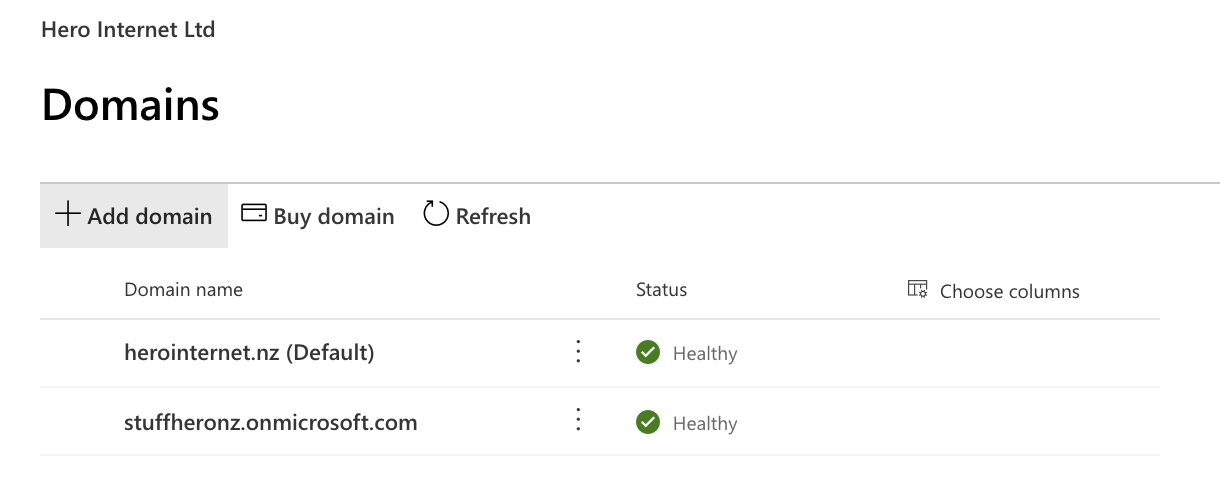
Then click on 'Show All' and then 'Settings' and the Domains sub-menu option.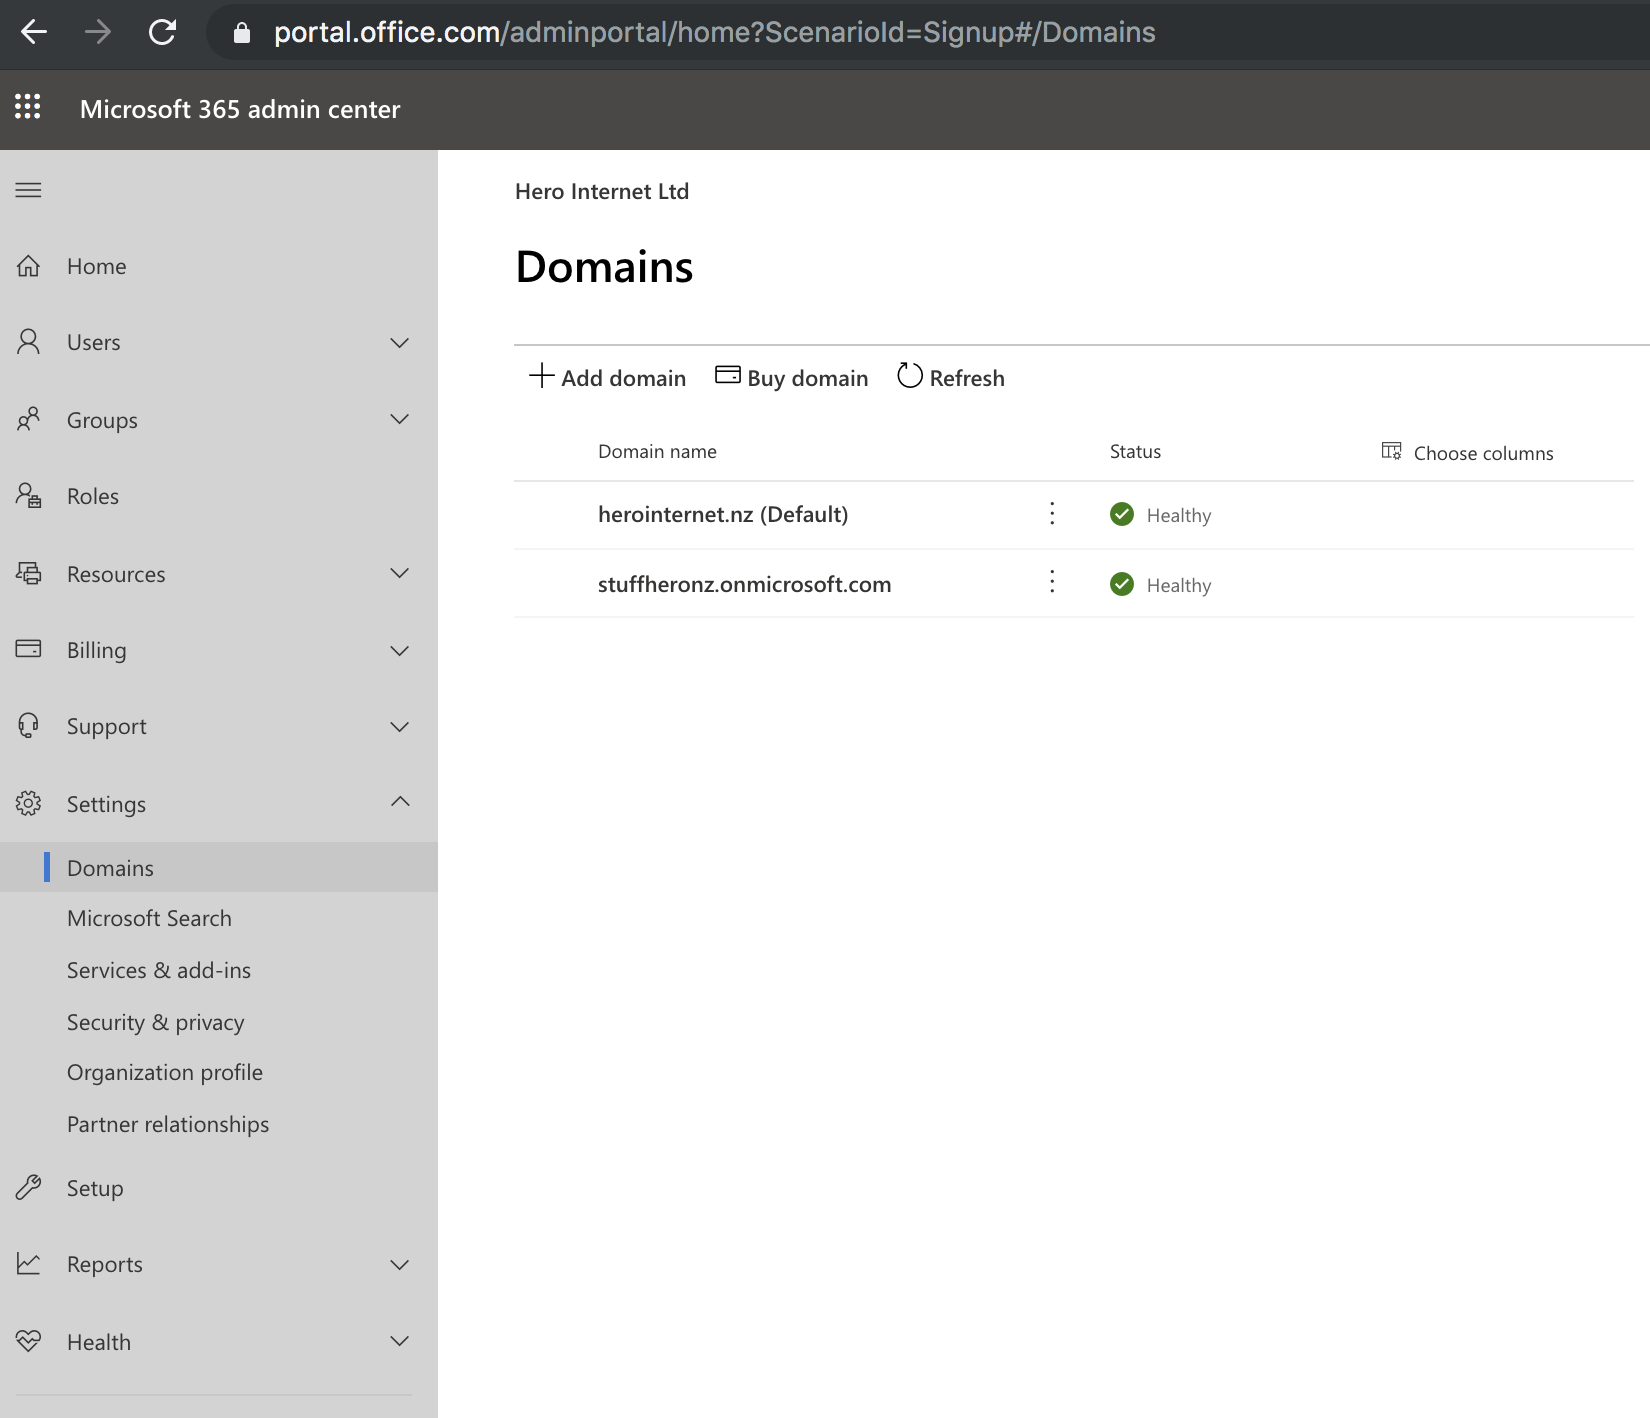
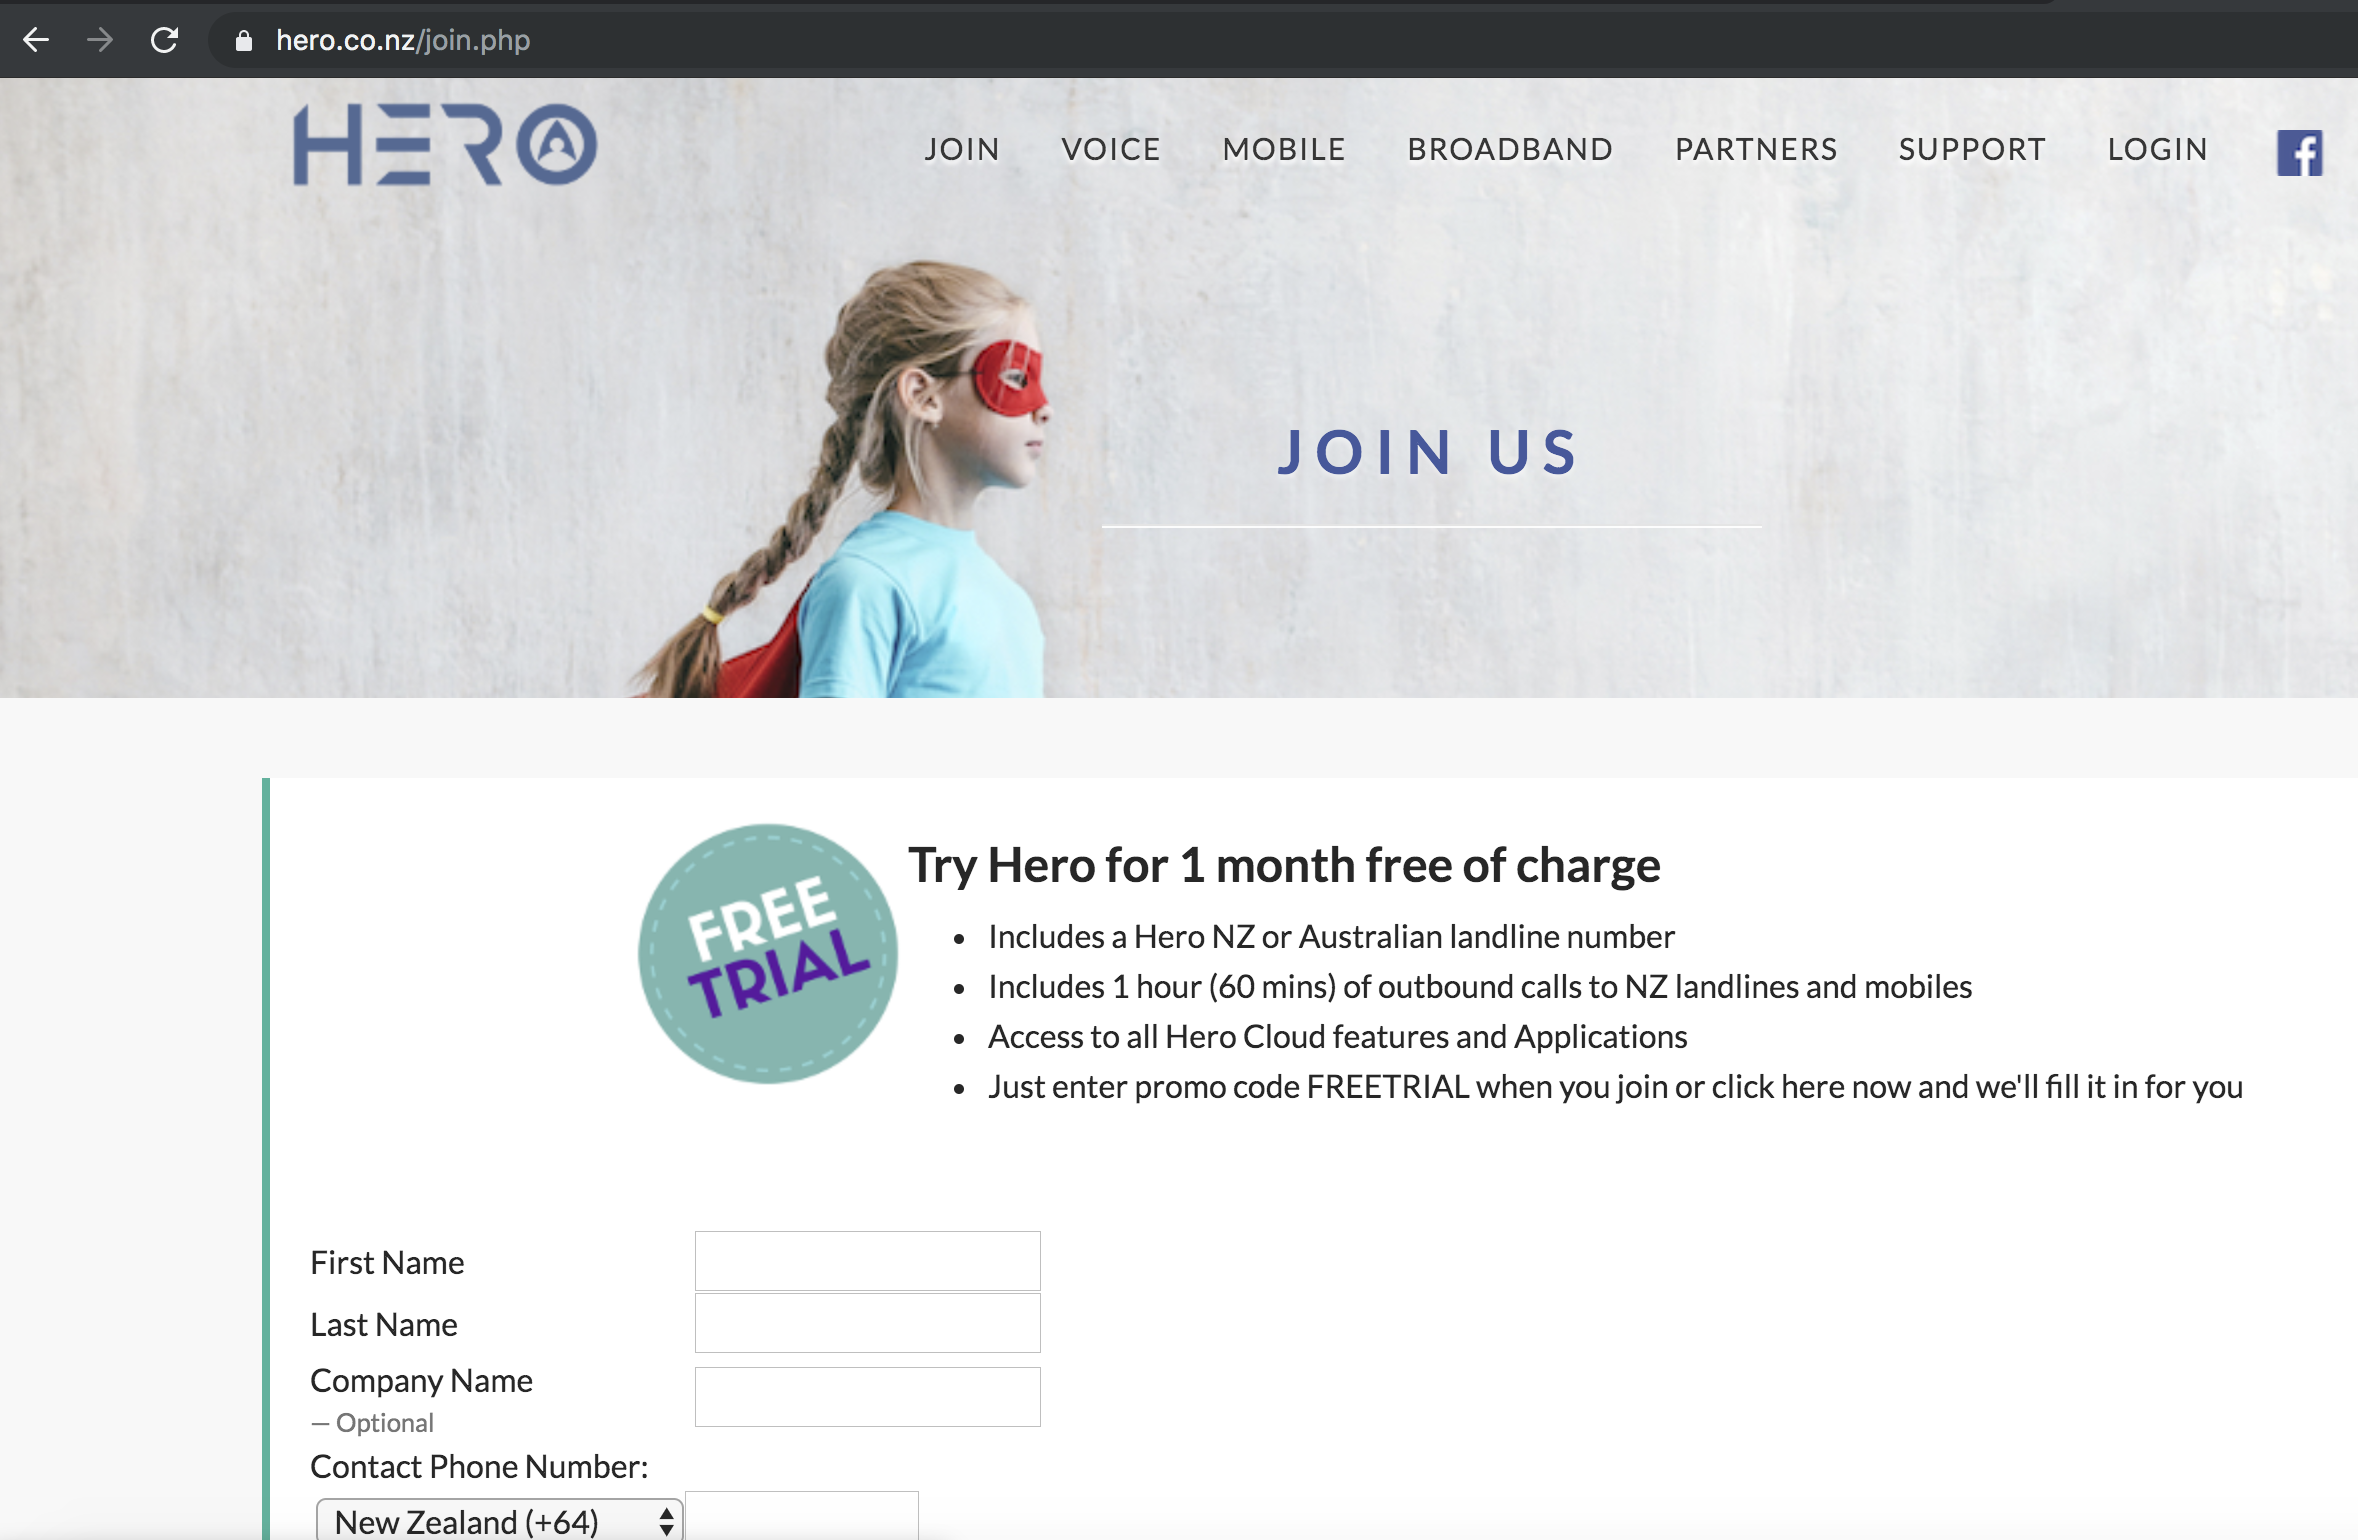
If you need still need to setup an account with Hero then visit herotel.uk and click Join
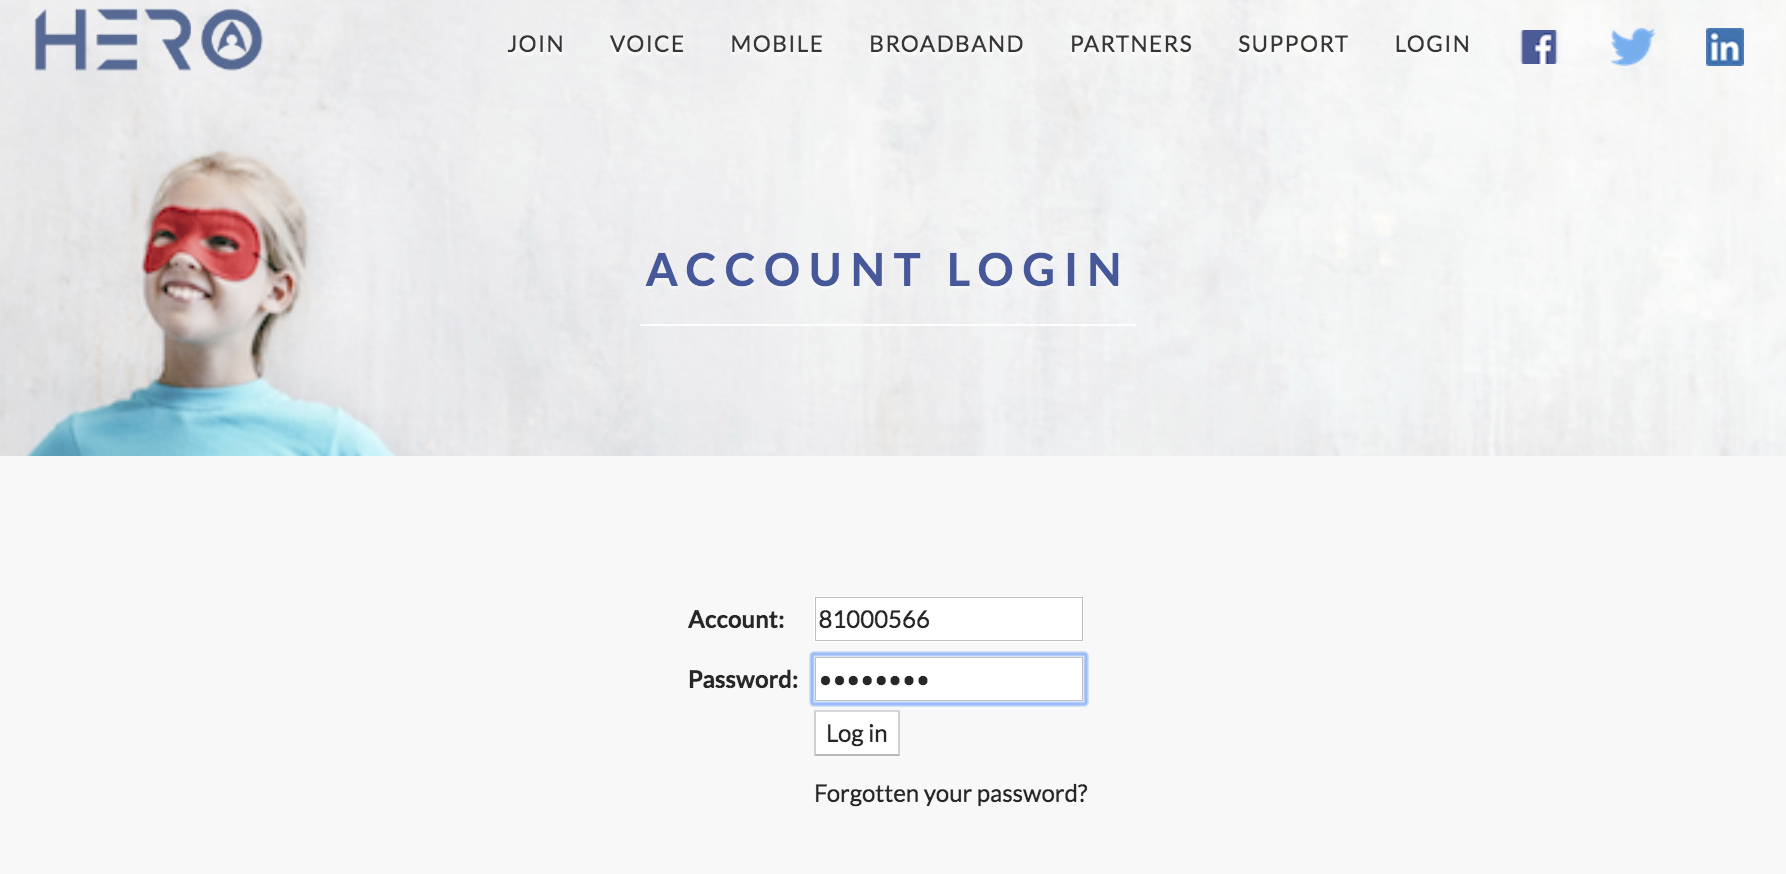
Login to your Hero account by clicking here
In the customer portal click on the Voice tab and then select 'Profiles' from the left side menu.
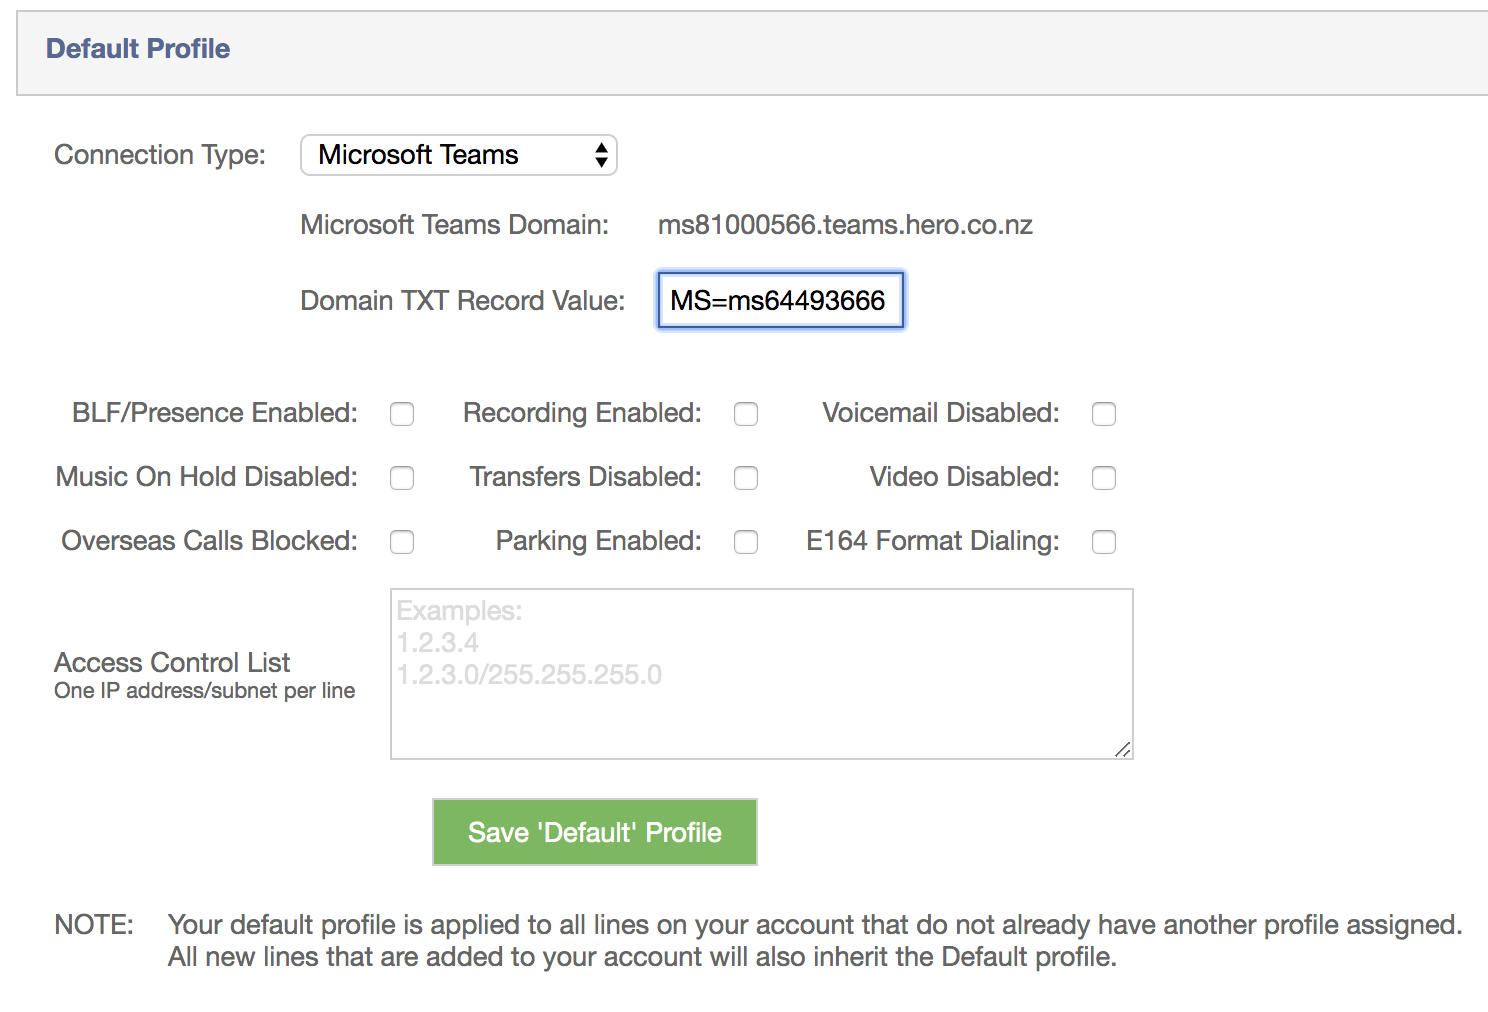
If you want to setup all lines on your account to use Microsoft Teams use the default profile otherwise you can create a new profile at the bottom of the page. In the drop down menu for Connection type select 'Microsoft Teams'.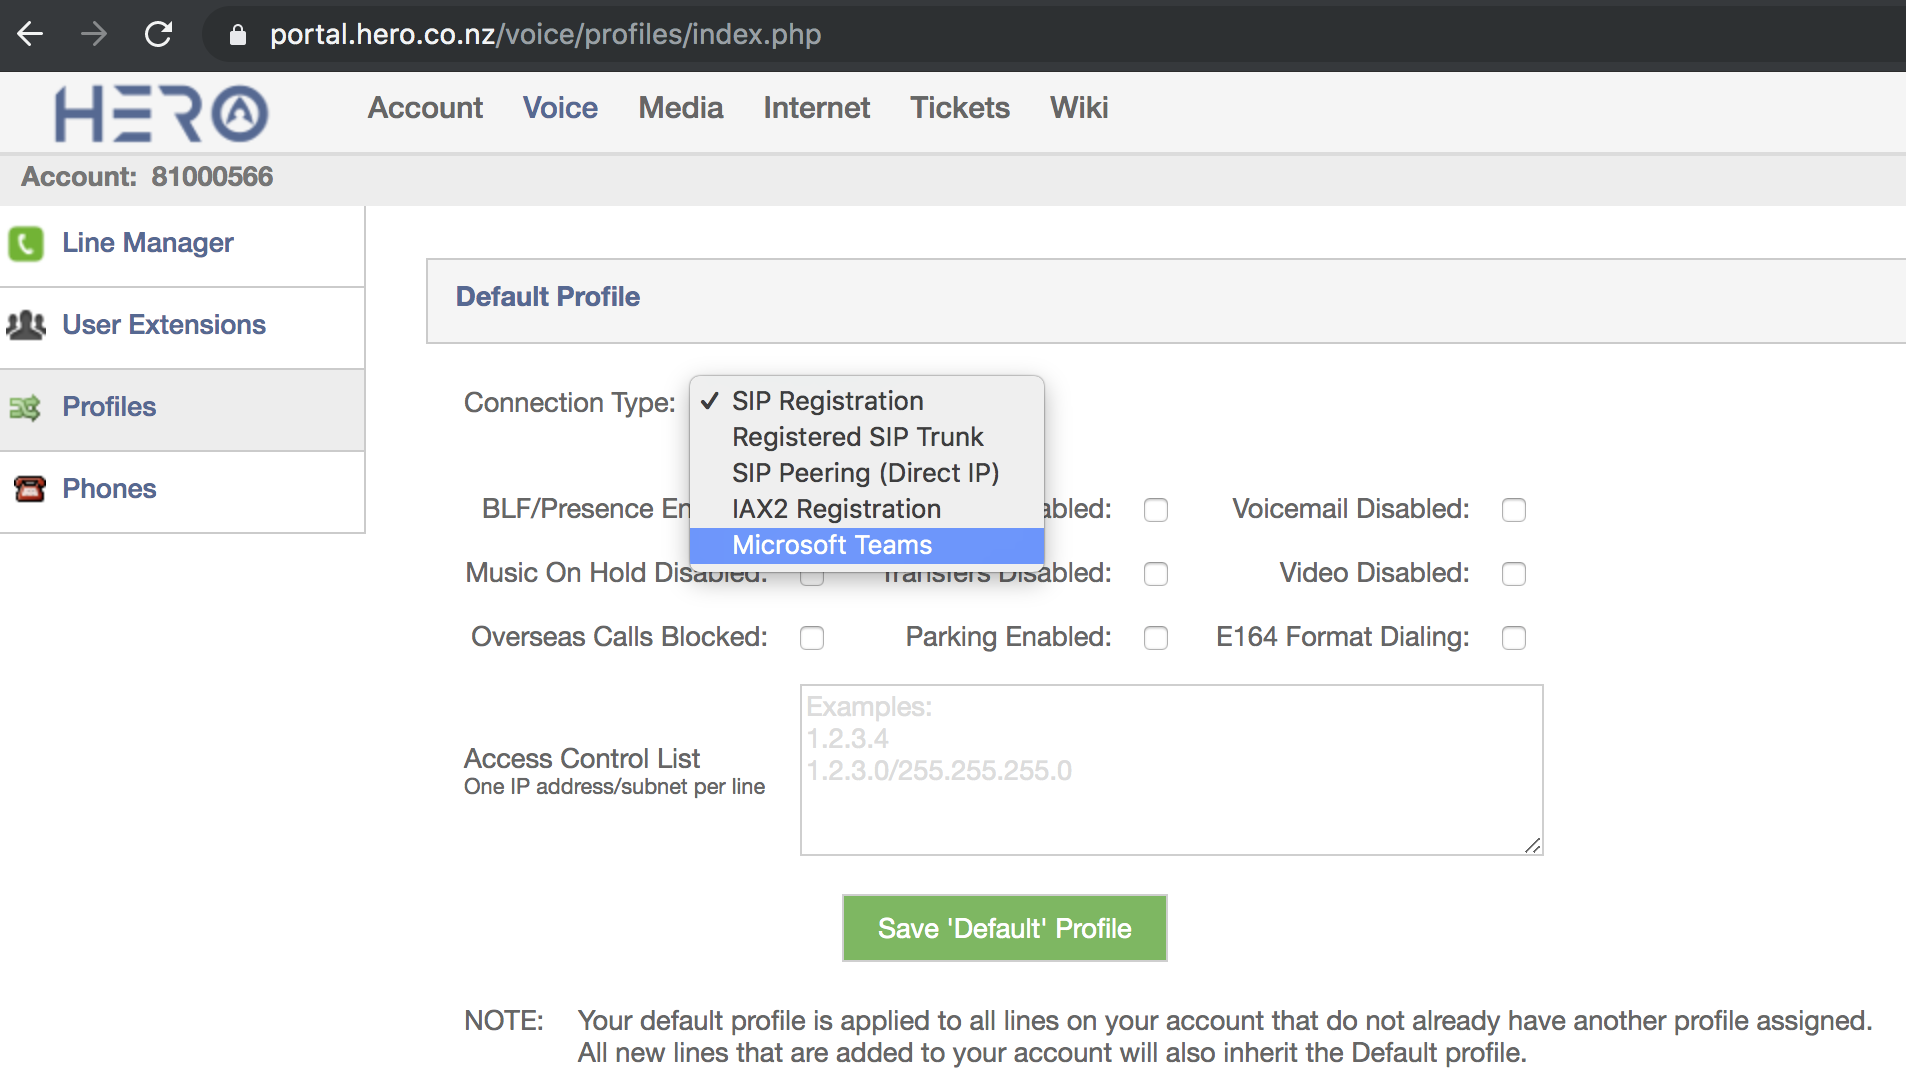
Copy the Microsoft Teams Domain into your clipboard (it will be something like ms6xxxxxxx.sbc.msteams.uk)

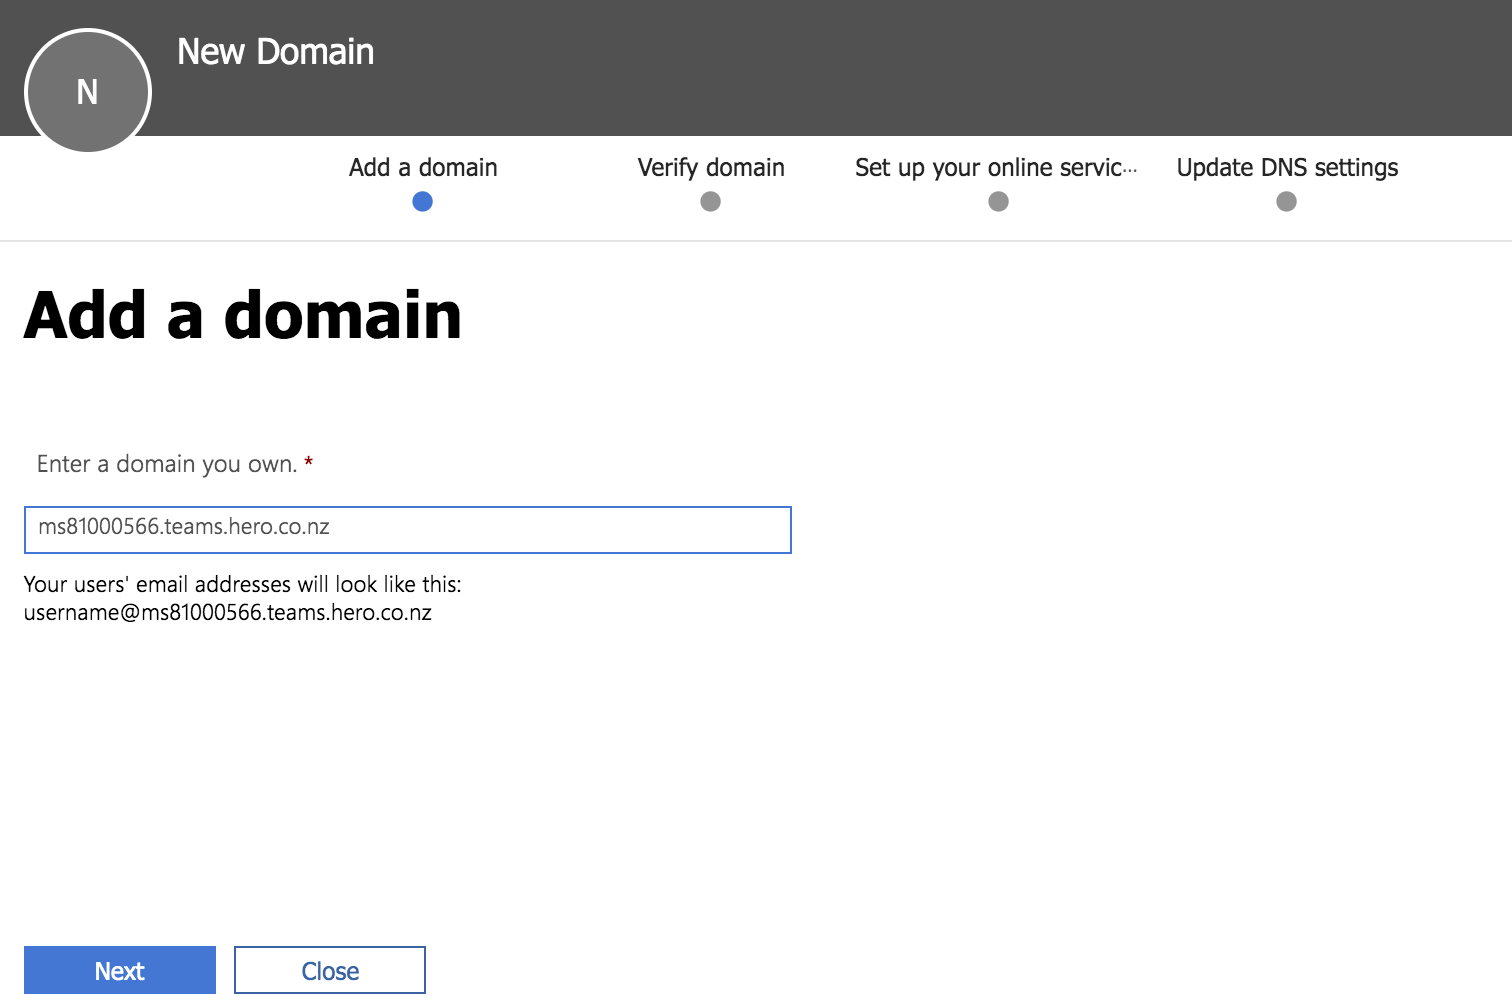
In the Domains page back in the Admin Center (under Settings/Domains) click 'Add domain'
Enter the Teams Domain you copied into your clipboard into the domain text box and click Next
Wait for the Verify Domain page to load (this can take some time and you may need to refresh the page)
The Verify domain page should now be displayed
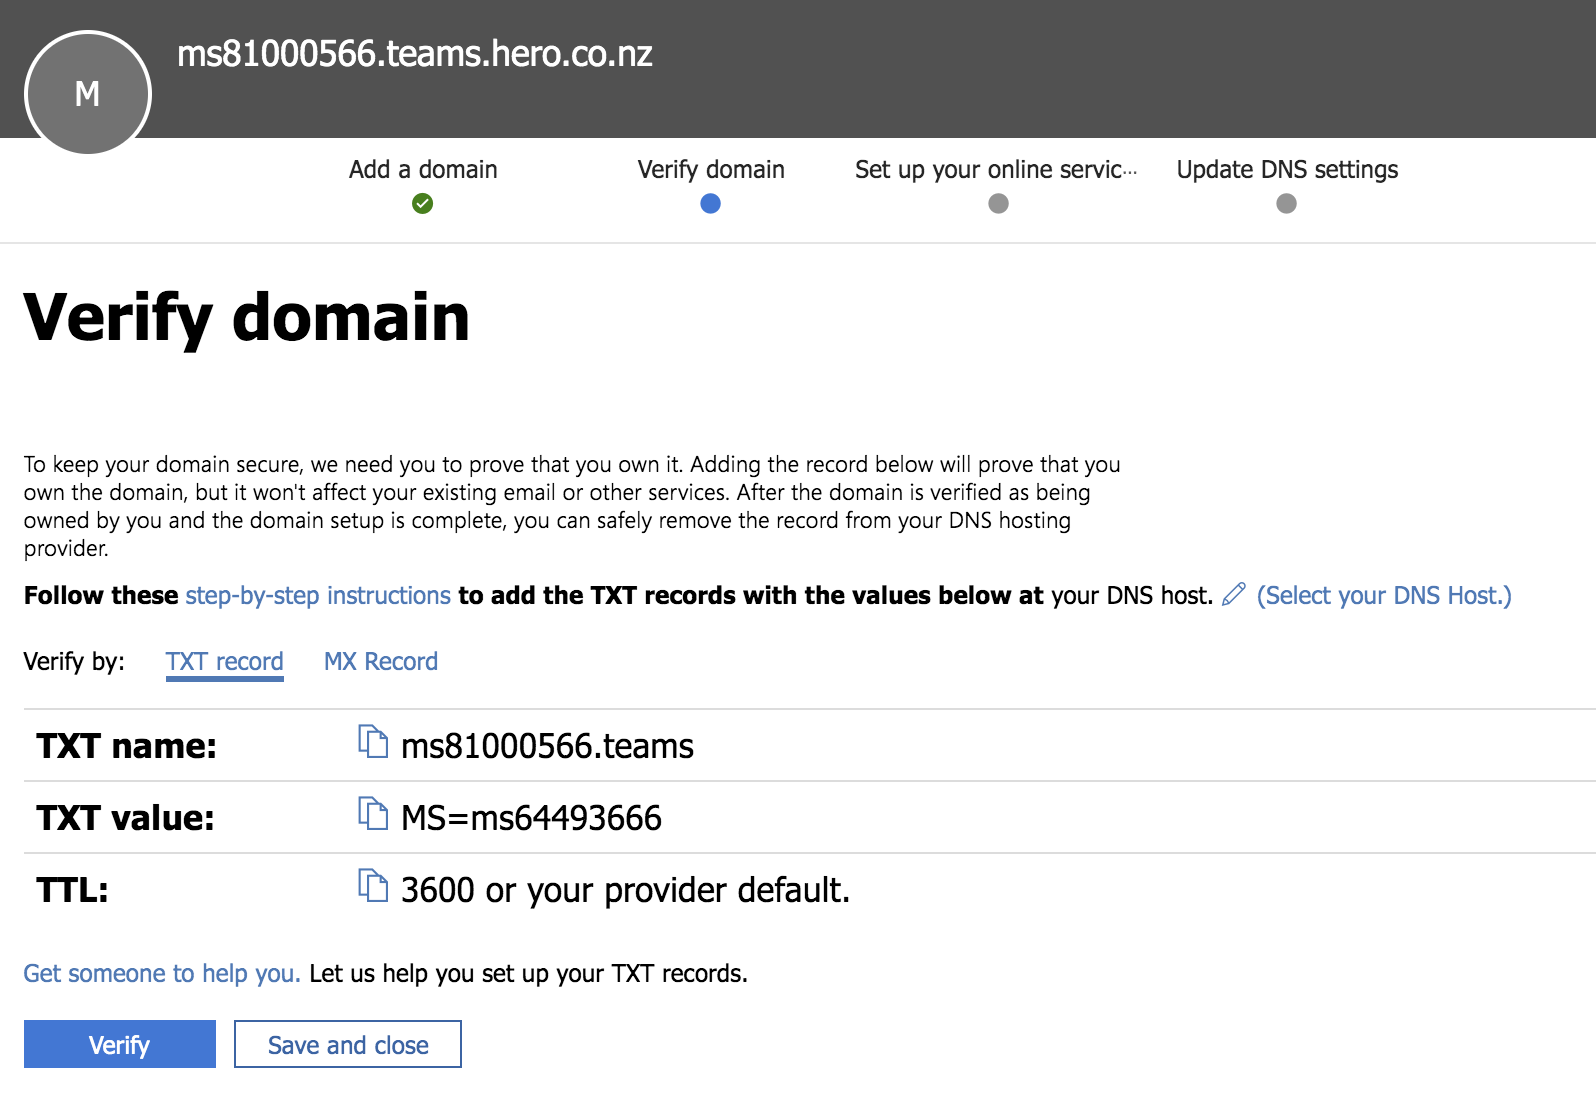
Copy the TXT value by clicking the icon beside the TXT value information (e.g. MS=msxxxxxxxx)
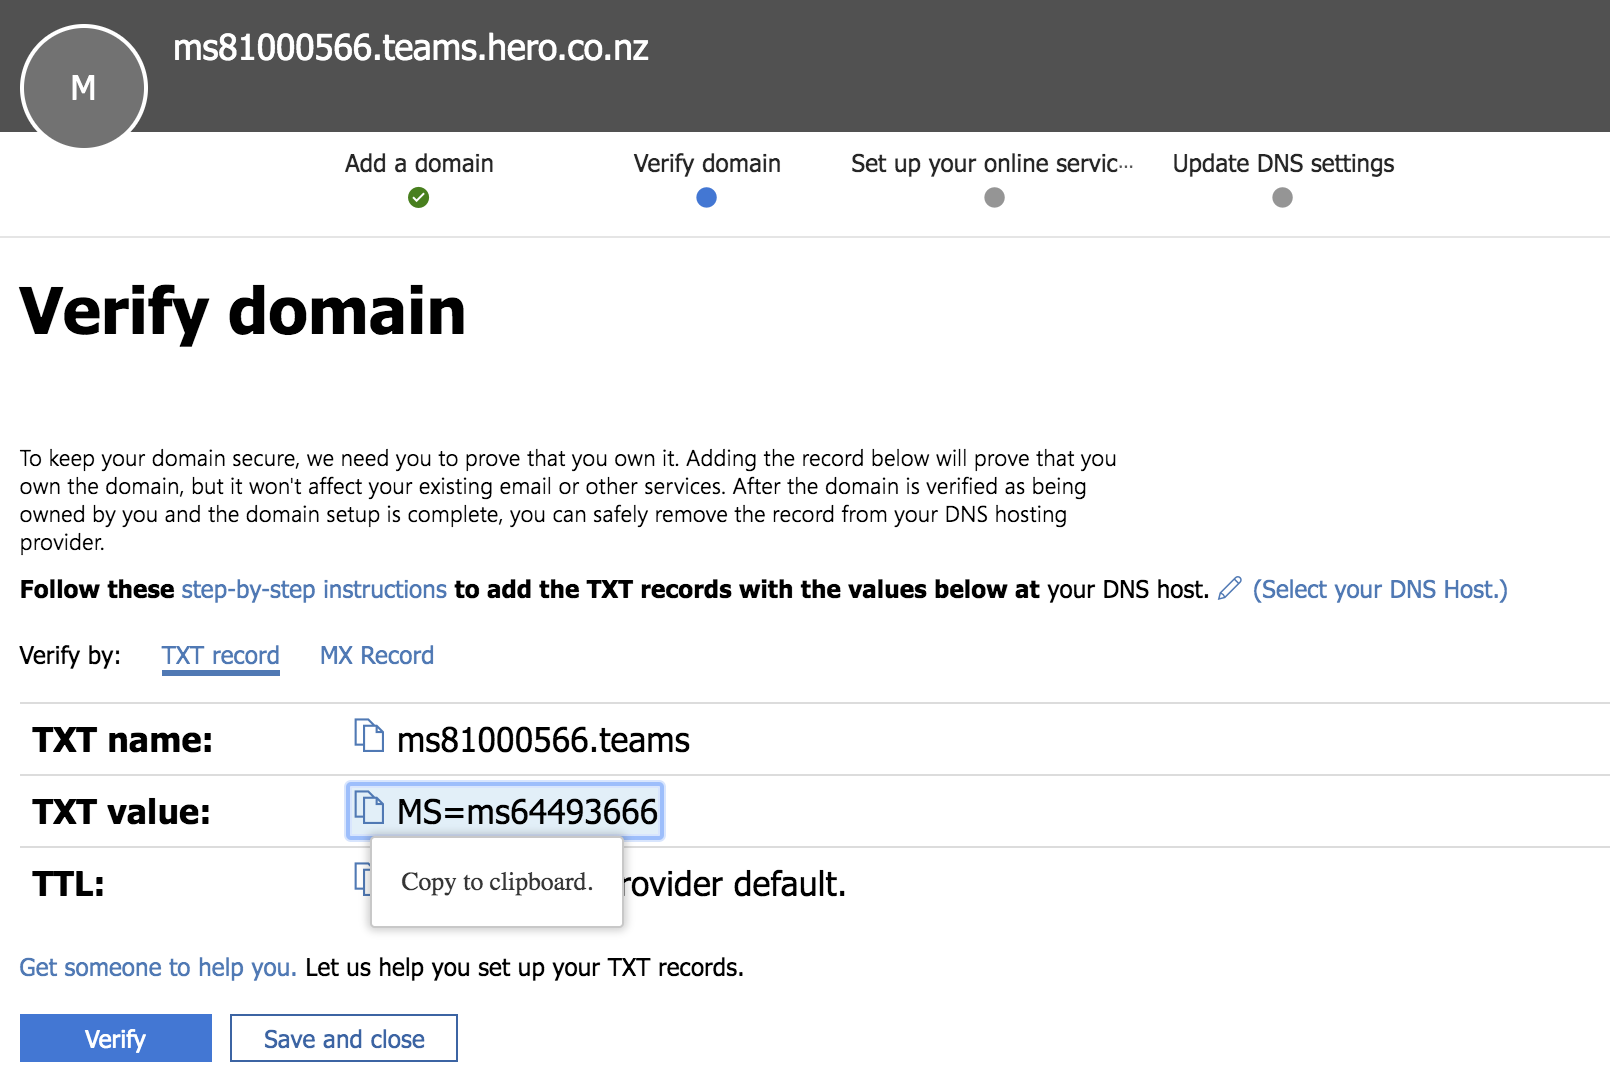
Now switch back to the customer portal page and paste this value into the Domain TXT record value field and then press 'Save Default Profile'
Now switch back to the Admin Center page and click on 'Verify'

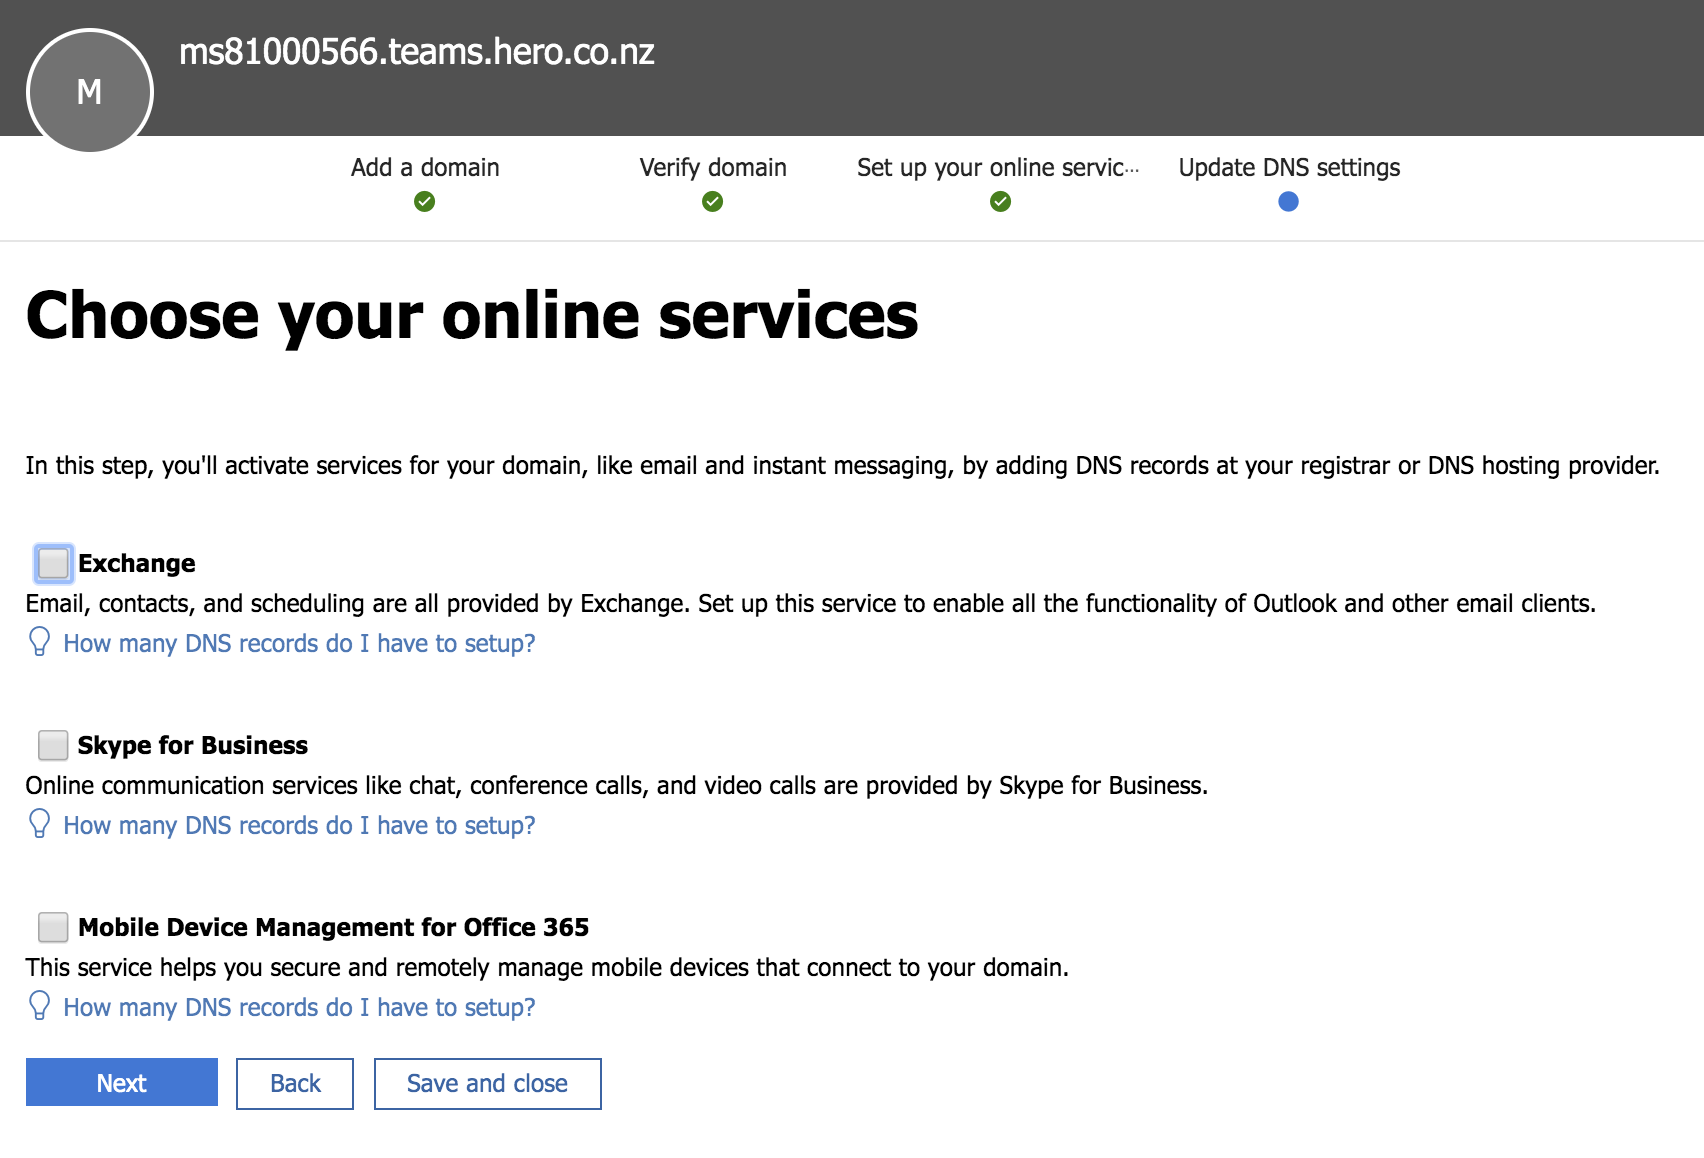
You may need to wait 1 minute or retry if this fails. Be patient! Once verified make sure all the options for online services are NOT ticked and click Next.
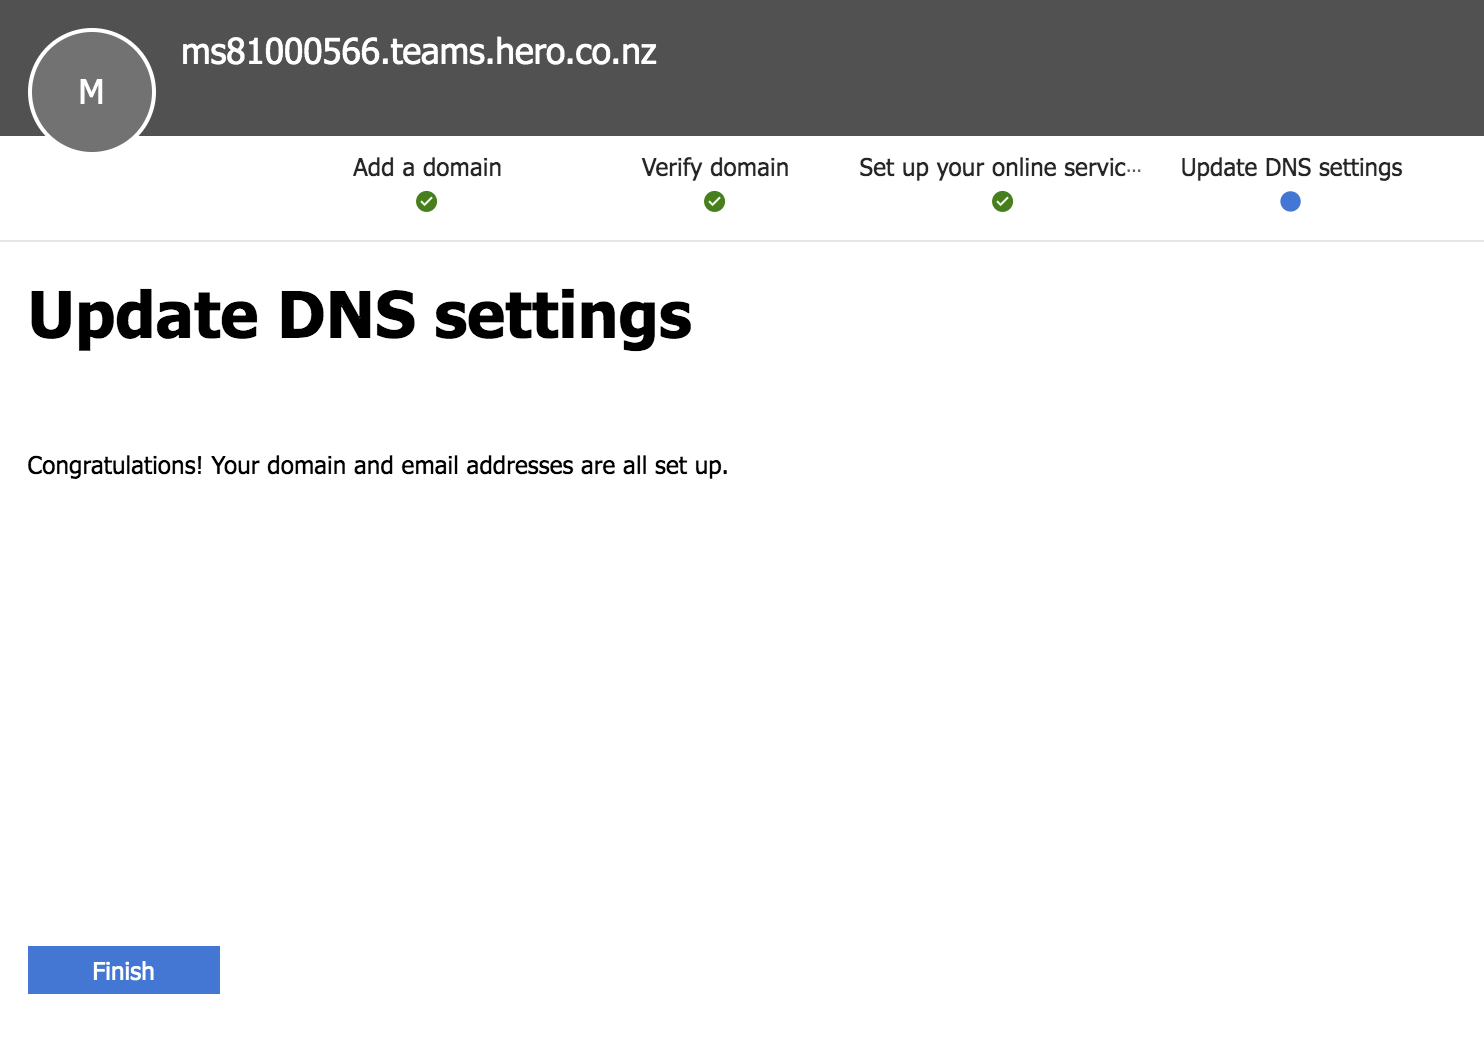
All being well this should complete and your trunking domain will be added to your account.
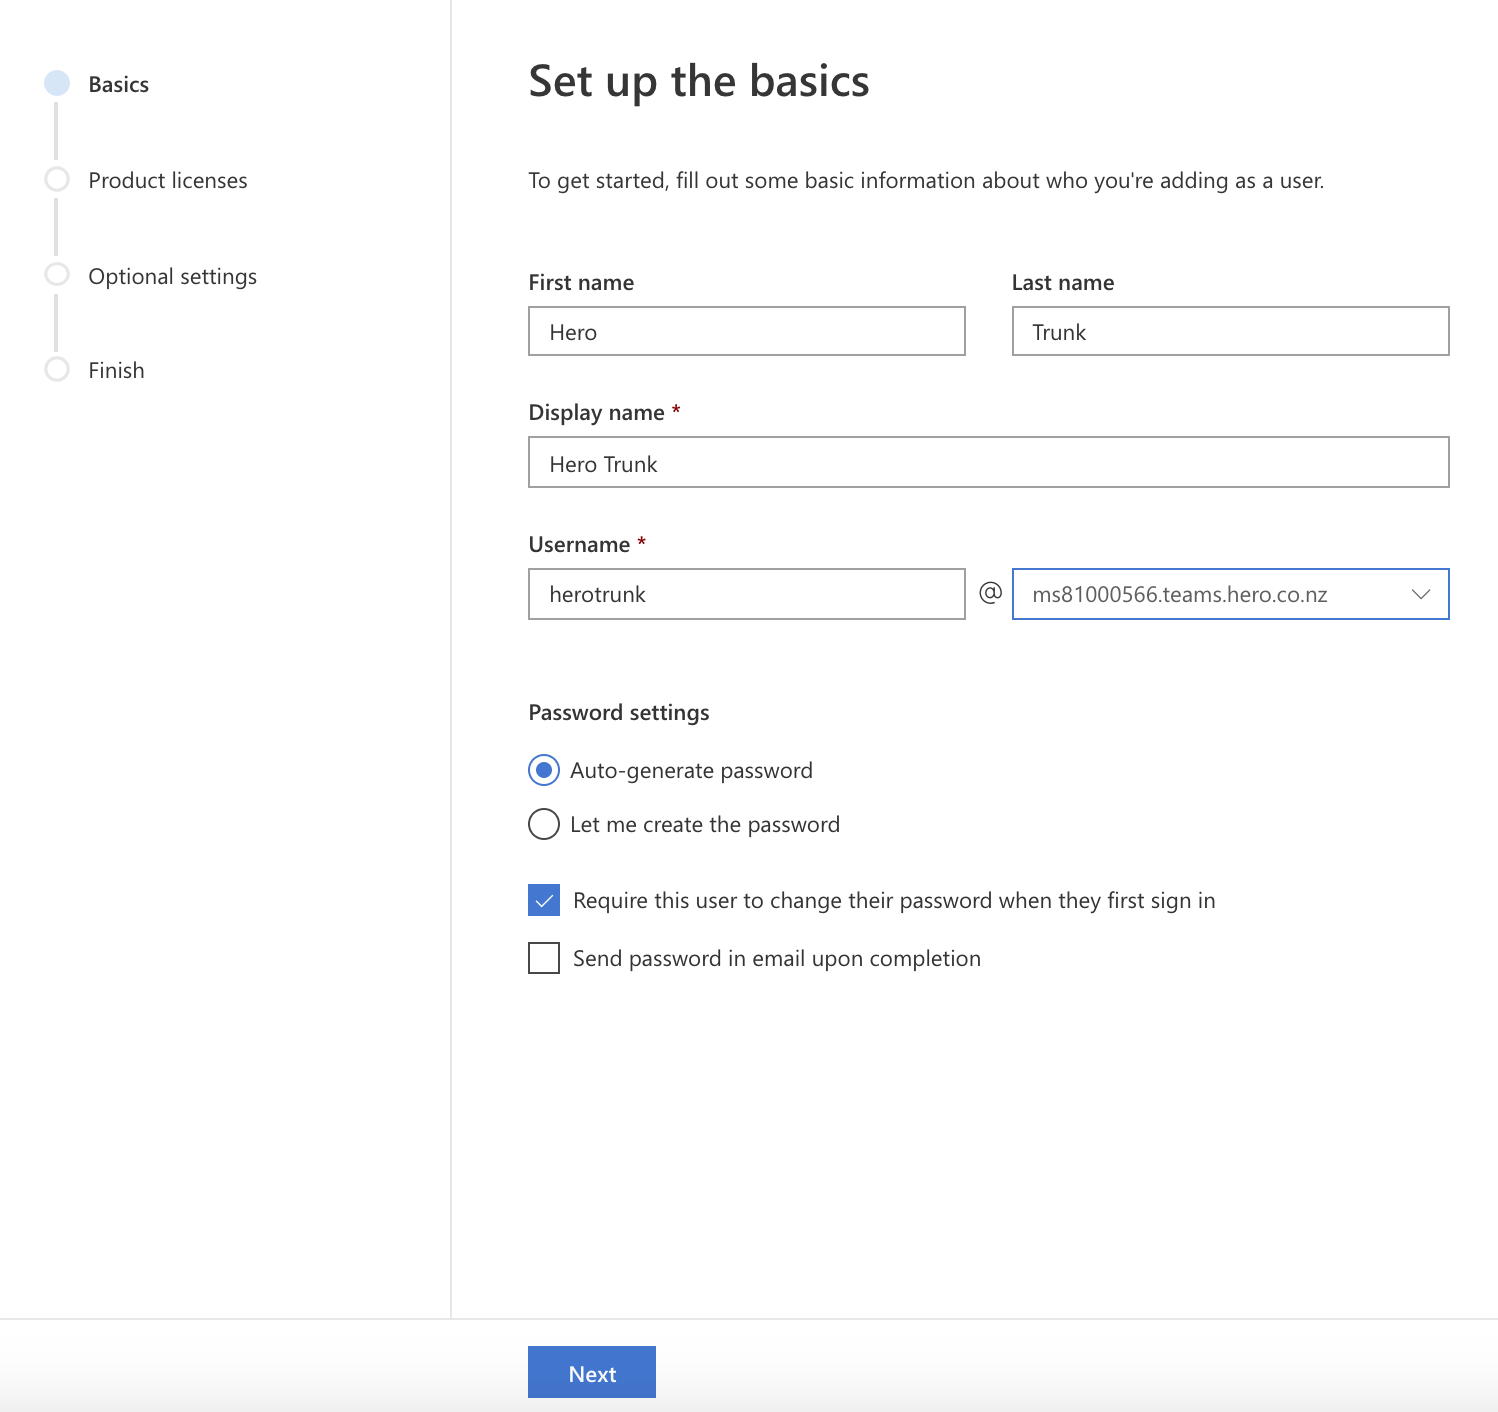
Now switch to the 'Users' tab in the Admin Center and click 'Add a user'
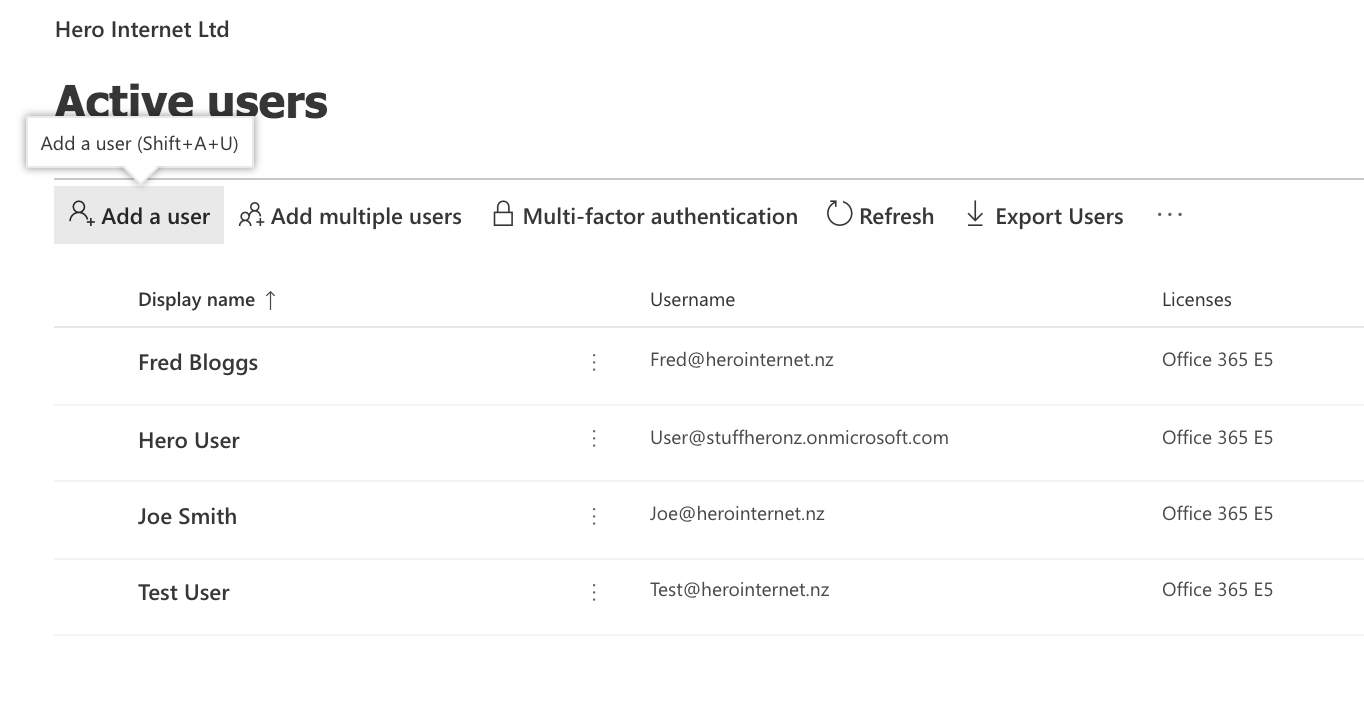
We are going to create a 'temporary user' to associate with the trunk domain
The user details should be something like 'VOIP Trunk' and username of 'voiptrunk'. Make sure you select our new VOIP trunk domain from the drop down menu (e.g. msxxxxxxxx.sbc.msteams.uk). Then Click Next.
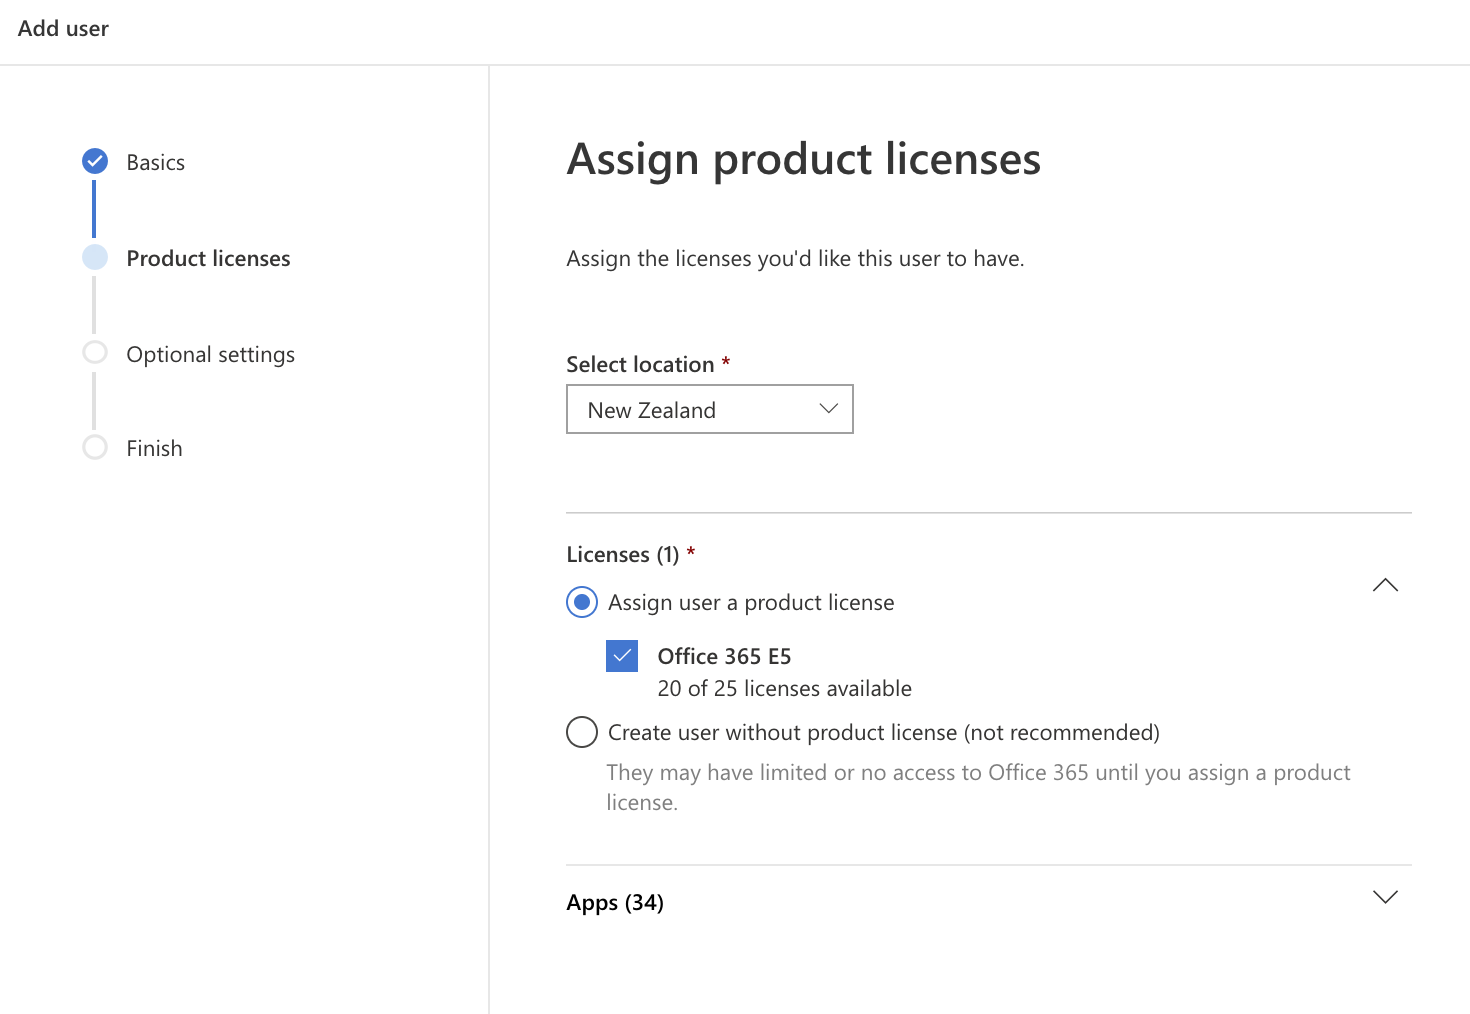
Now you need to assign a product license that includes phone services such as an E5 or E3 license to this user. If you only don't have any more licenses available then you may need to 'borrow' one from one of your other users temporarily. We can assign it back later on once the trunk is setup.
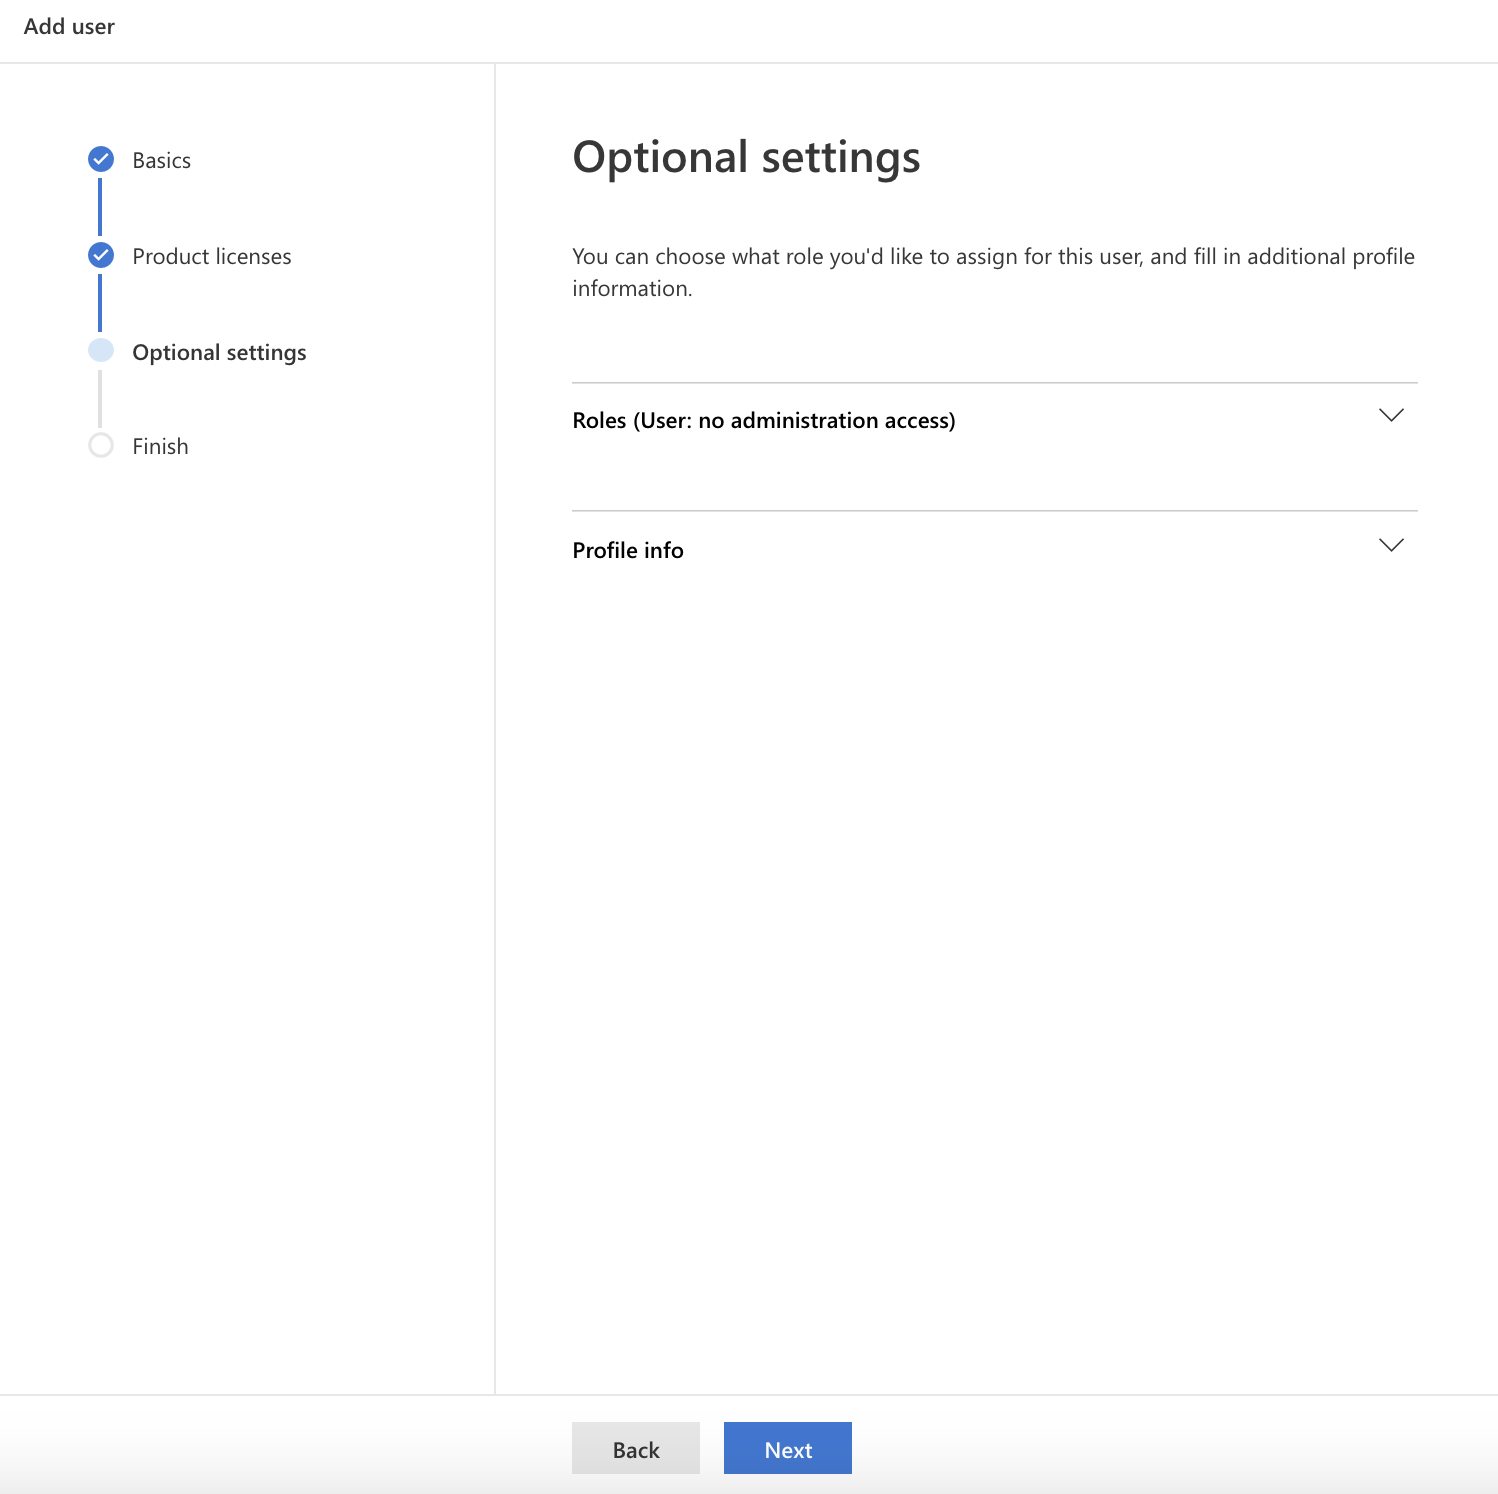
Leave the Role and Profile Info as default and click Next
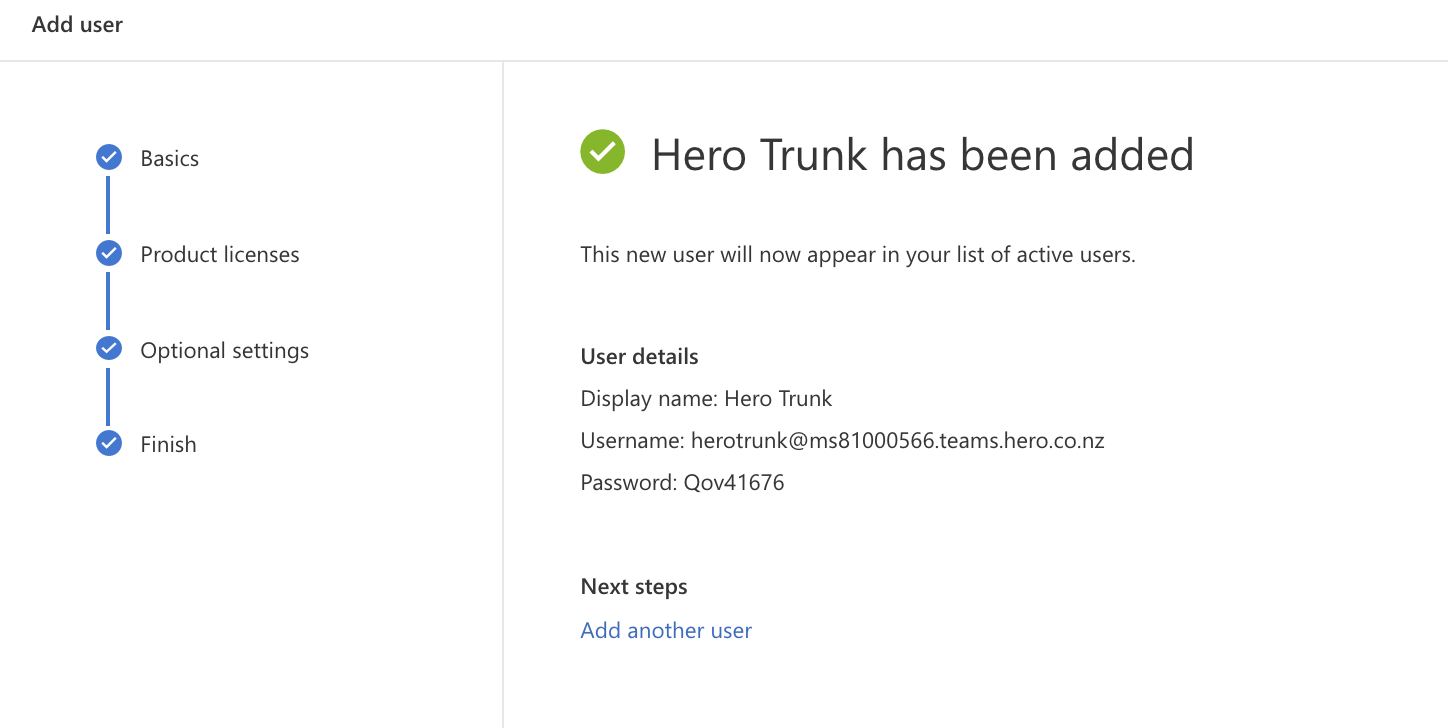
Press 'Finish Adding'
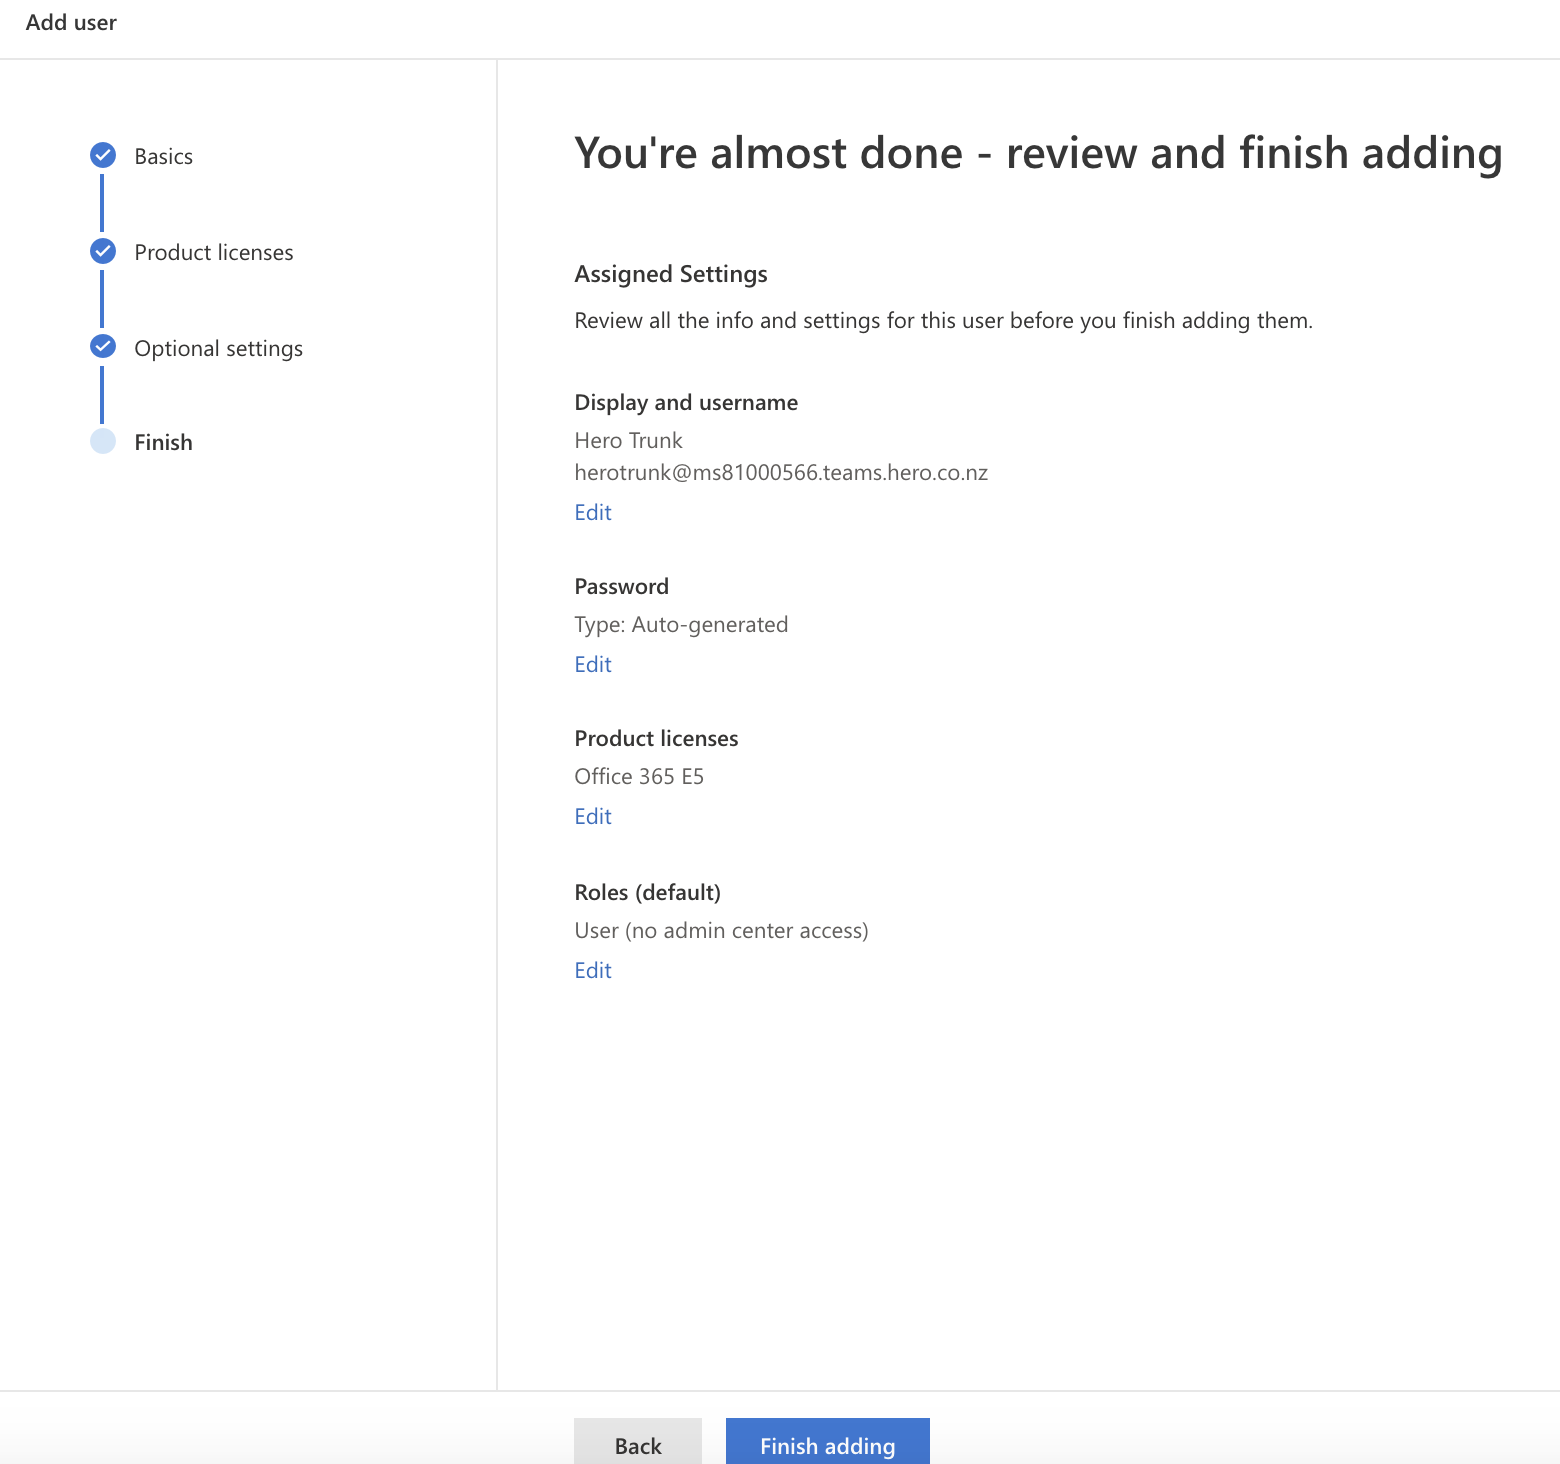
You should receive confirmation the Trunk user has been created.
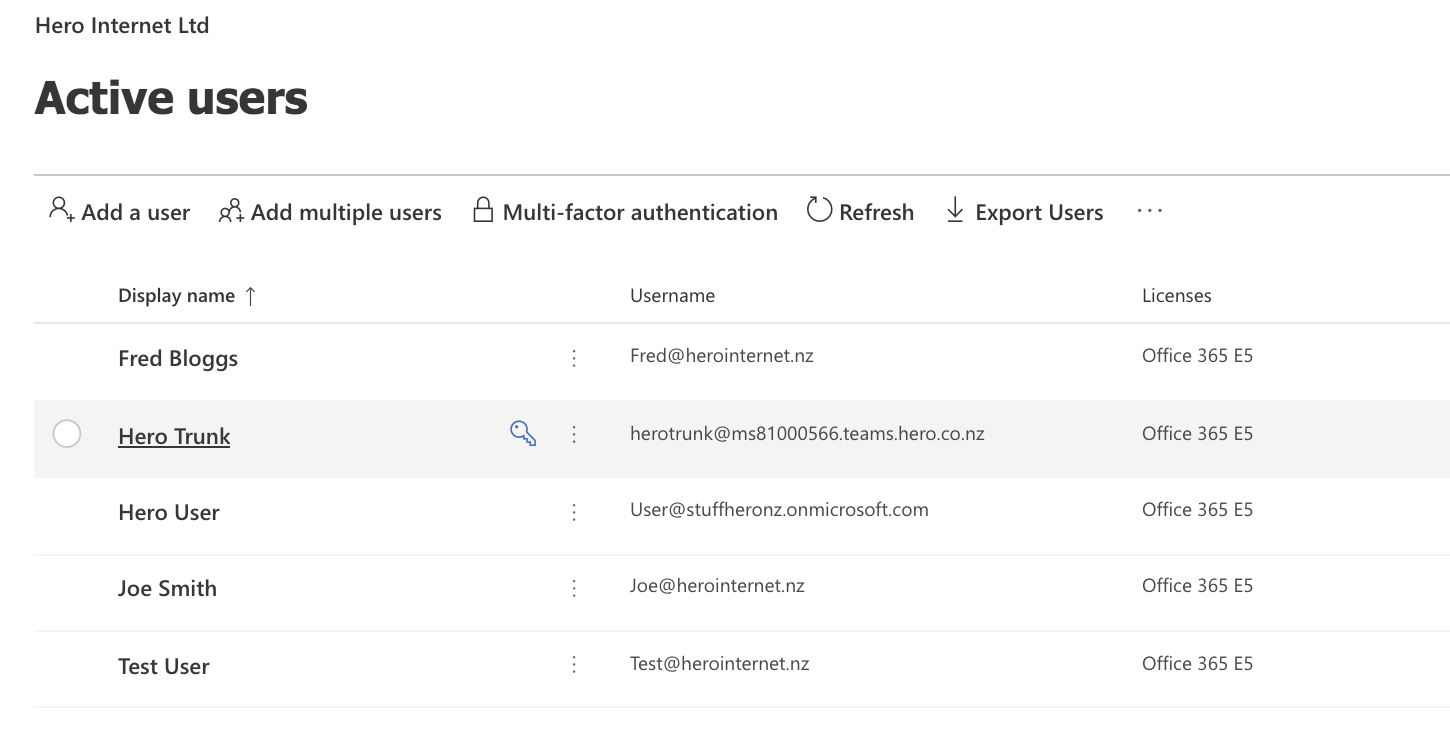
Go back to your Active users in the Users tab in Admin Center and the Trunk User should be listed.
User Management
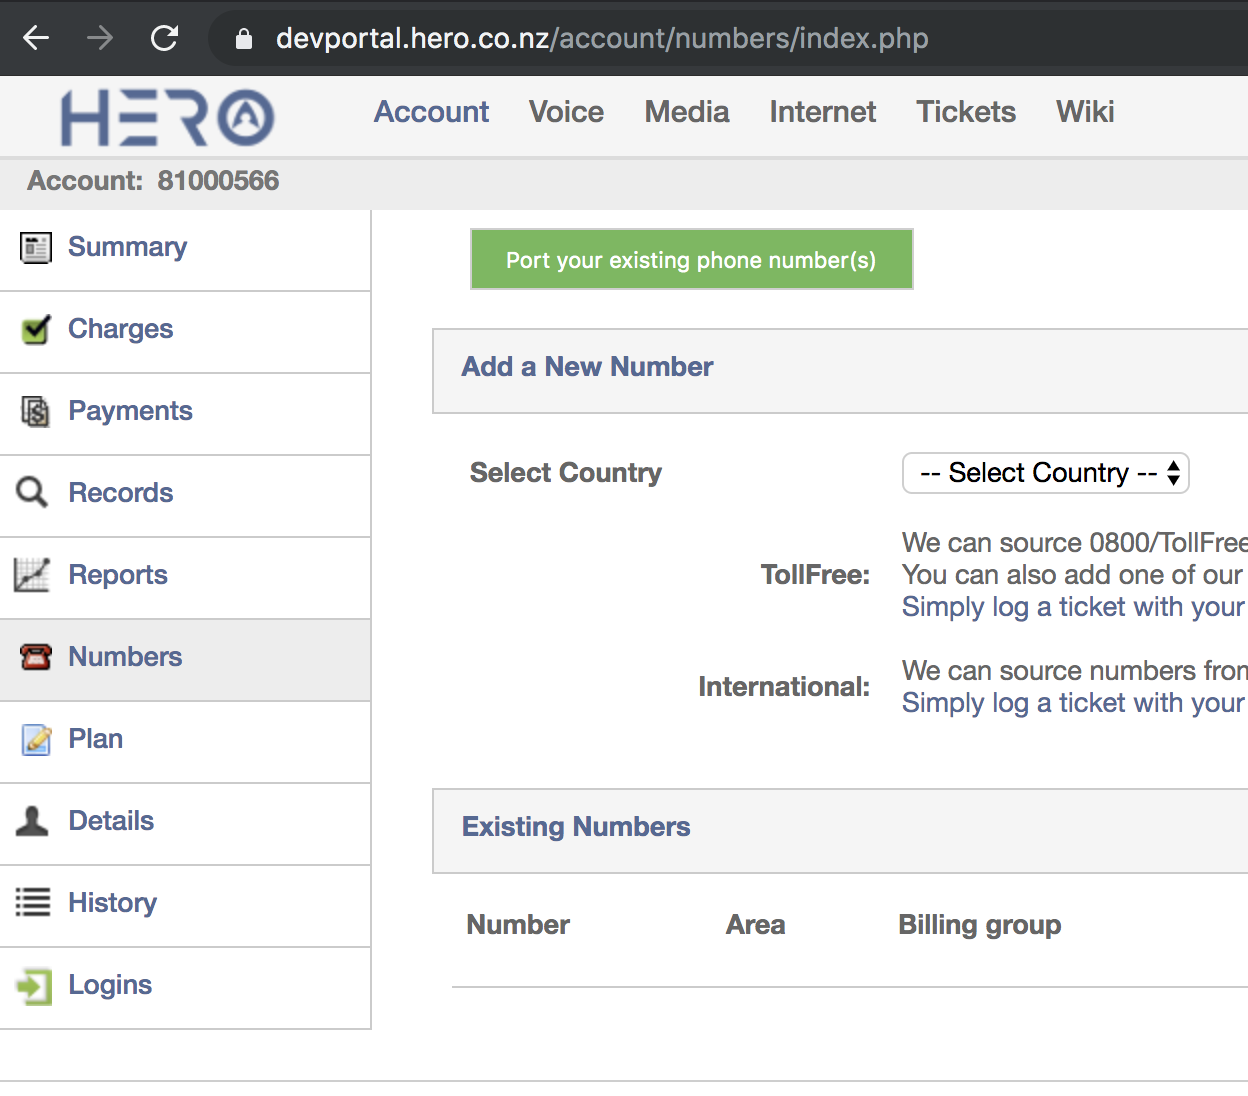
Now switch back to your customer portal tab and add any new numbers you want on teams. You can also port a number to us or change an existing line type to be a Teams line in the Account/Numbers page.
For adding a new Teams number ensure you select the Line Type as 'Microsoft Teams' and select a Teams plan for the line.
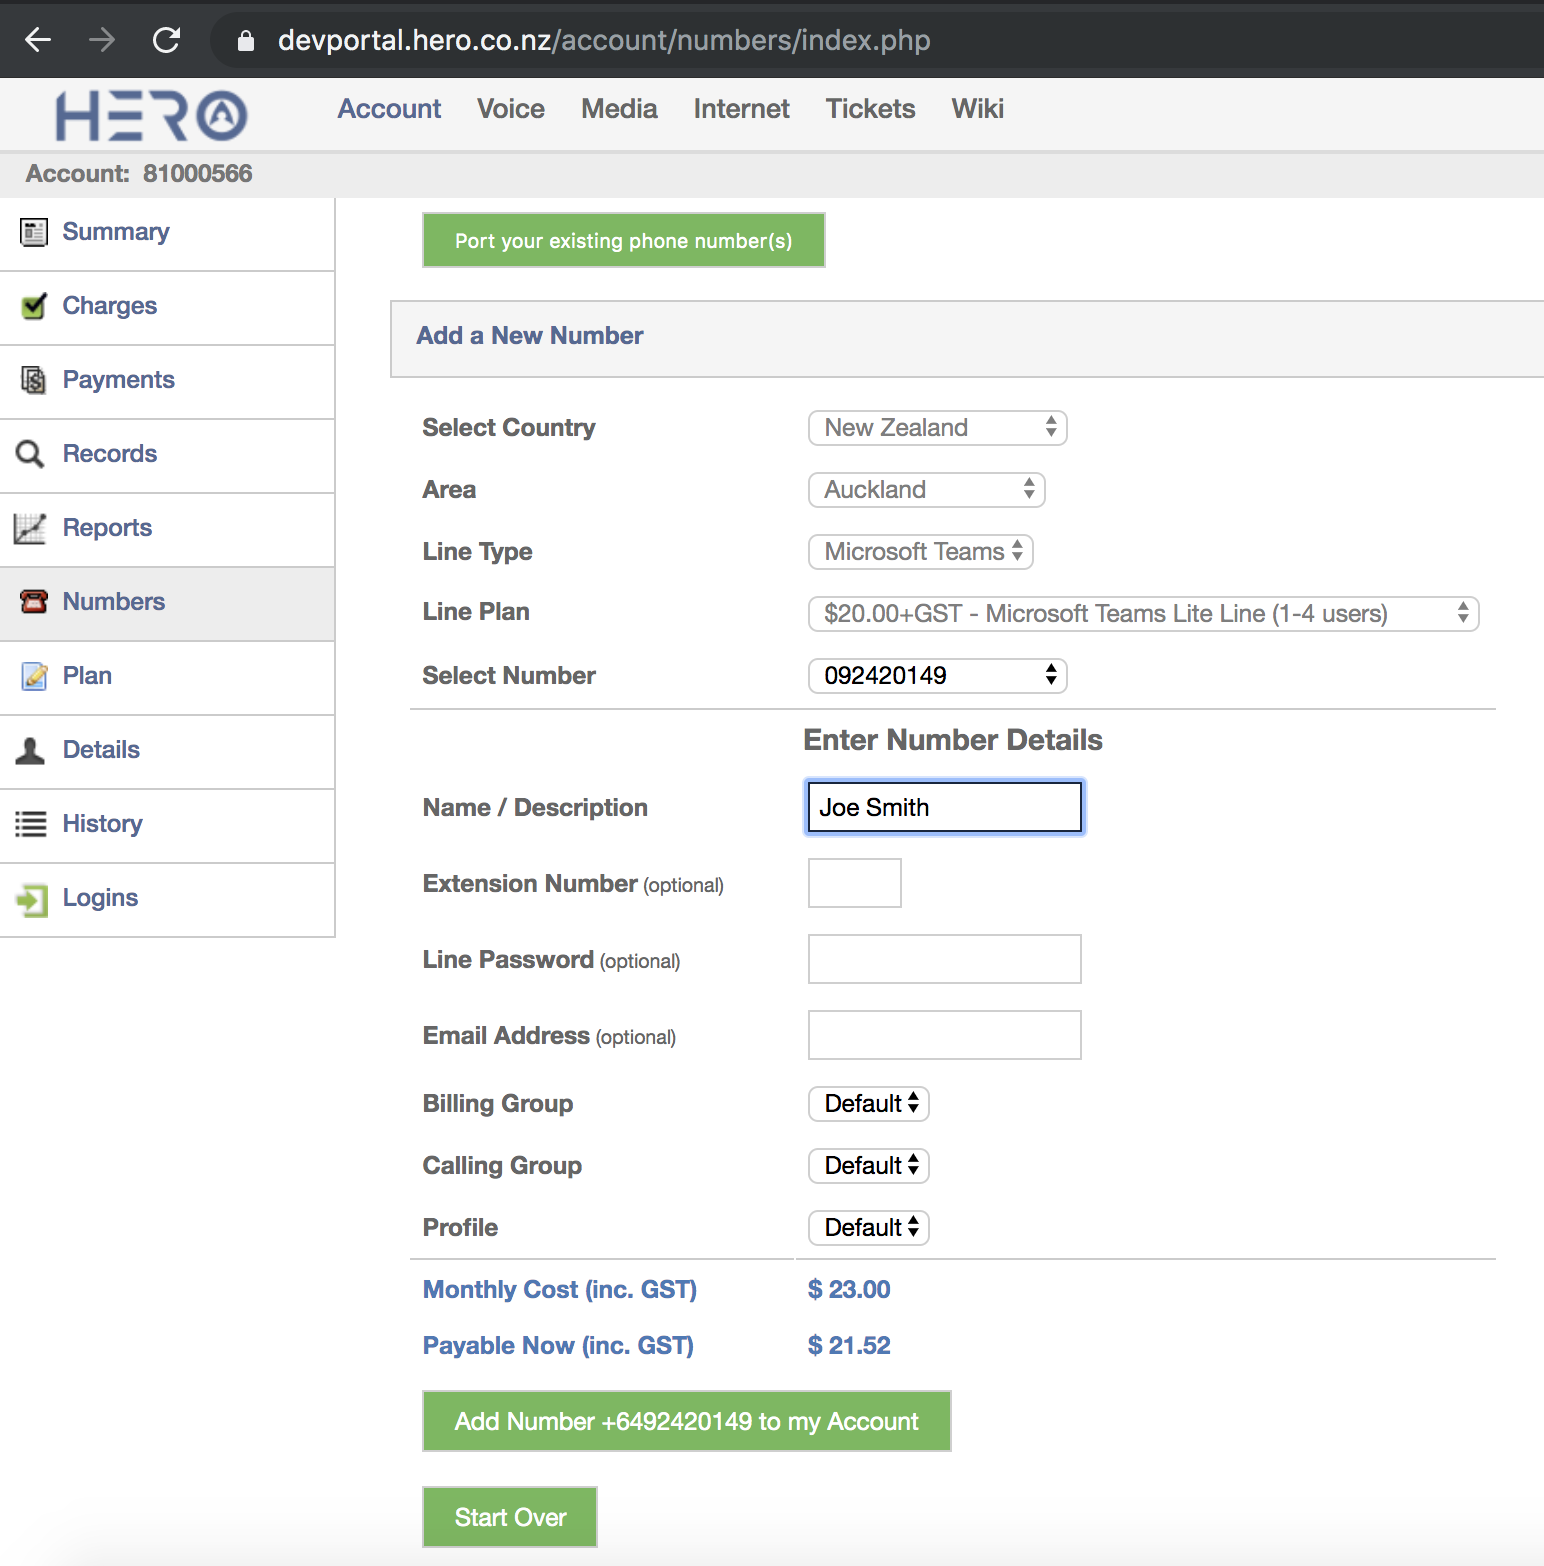
Continue to add Teams enabled numbers to your Hero account as required.
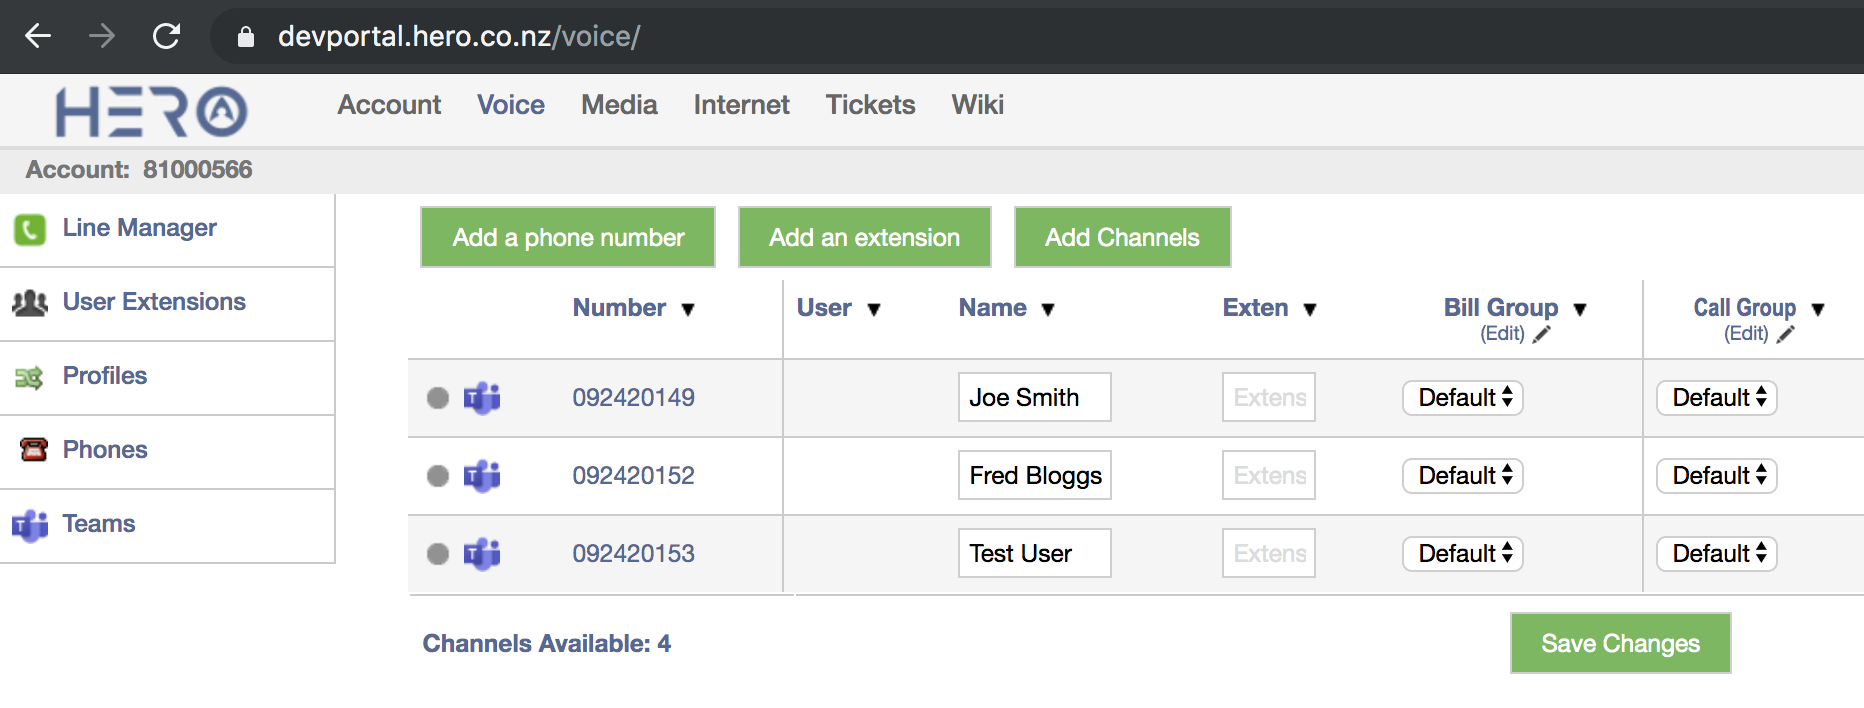
Click on 'Voice' tab and your Teams users should be listed with a 'Teams icon' beside them. If you do not see this icon check that you have set the Profile (in the Profiles Page) to be of the type 'Microsoft Teams' and if you have created a new profile for Teams then in the numbers page make sure you assign that profile to the Teams lines.
Now click on the 'Teams' page on the left menu
Fill in the fields against each teams number including the teams user IDs hosted in Office 365 (including the domain name e.g. Joe@herointernet.nz). You can also decide if you want to twin with a regular SIP phone or have the call failover to SIP or be hosted on Teams only. You can also decide if you want to use the Teams Voicemail system or the Hero voicemail and provide an 'offline forwarding number' for your users in case calls fail to Teams and you need to have a backup number for these users (e.g. their mobile phone number). Press 'Save Changes' when done.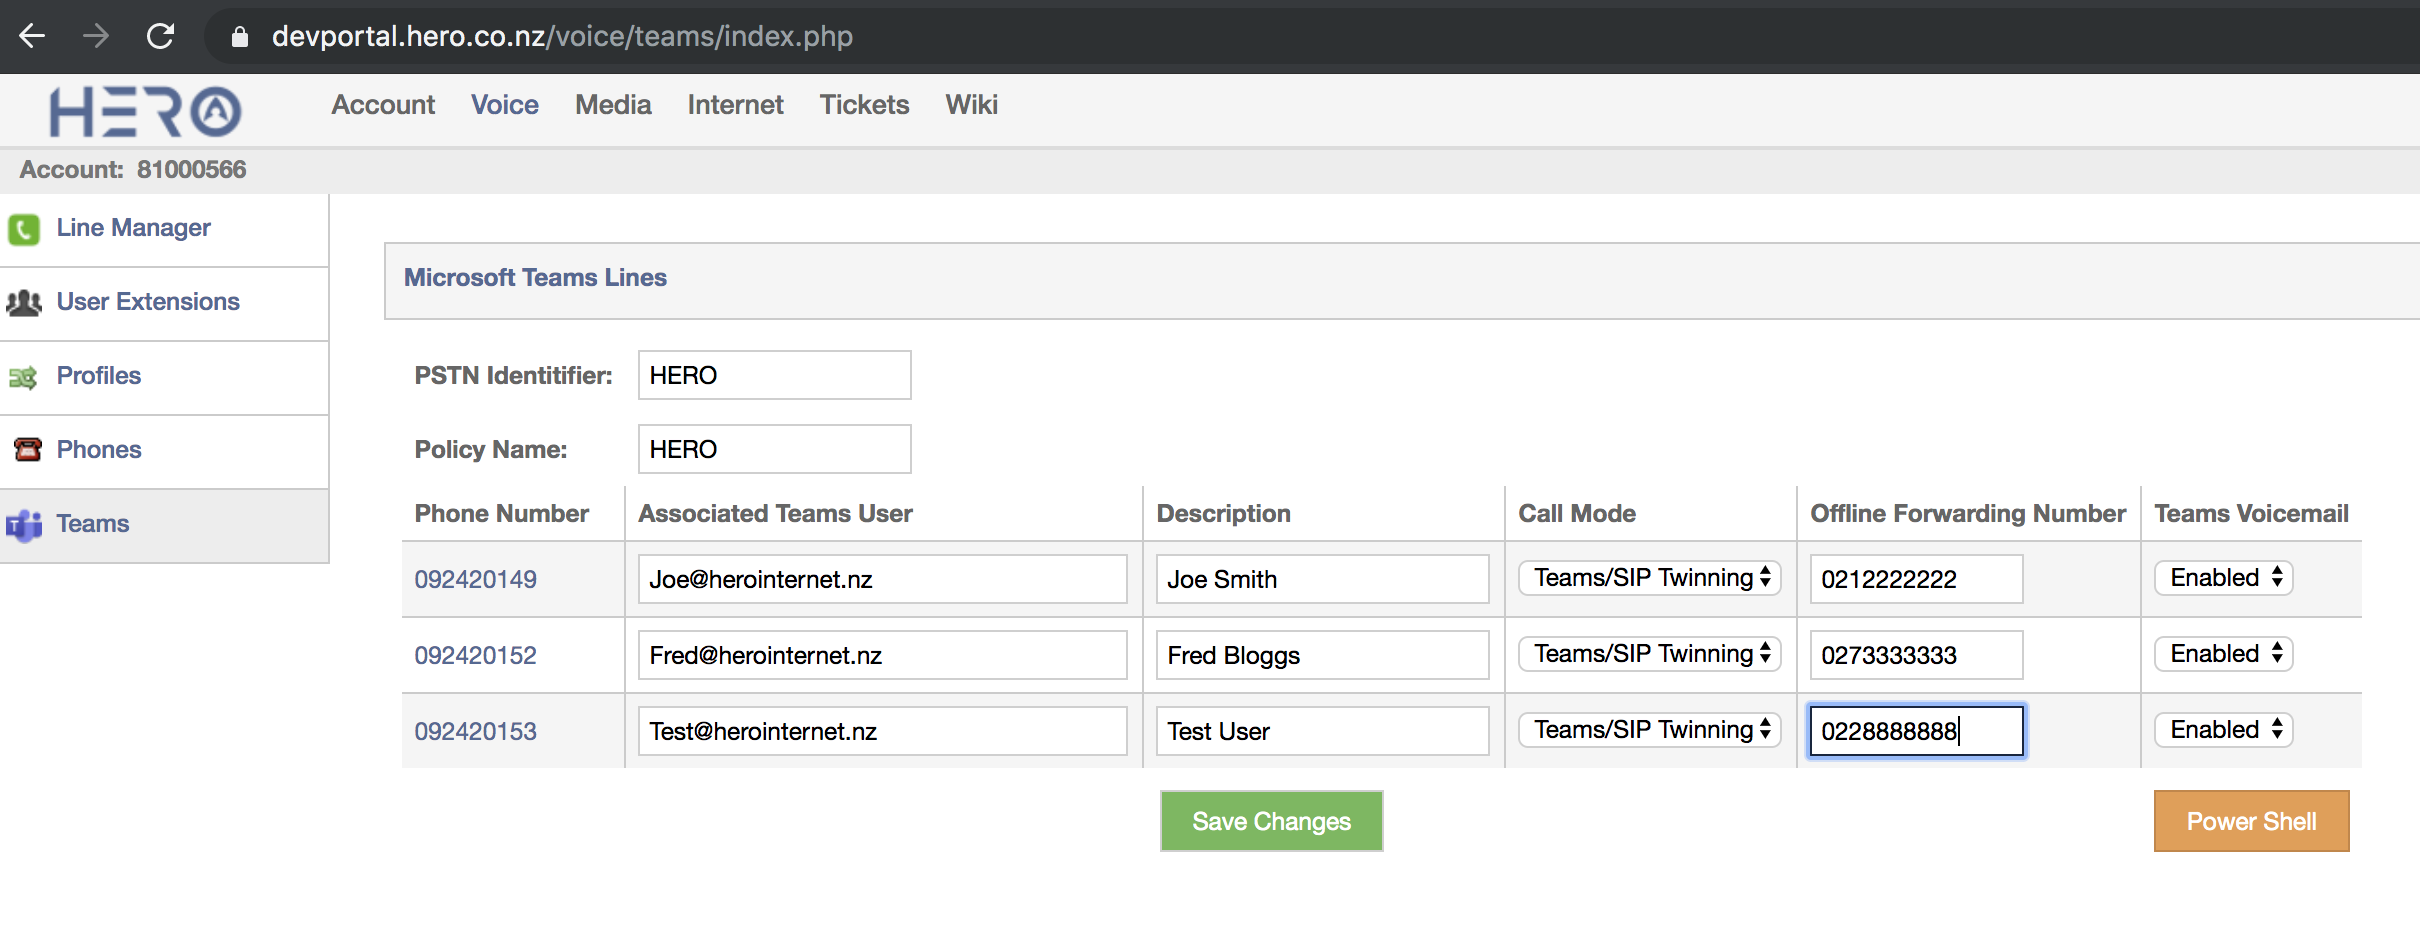
The following steps are for Advanced users only who understand how to use the Microsoft Power Shell. Click on 'Power Shell' to display a list of commands you need to enter.

Power Shell Setup and Commands
Follow the guides below for instructions on how to setup Skype for Business and Windows Powershell
Setup Guide:Install Link for Skype for Business Online, Windows PowerShell Module
https://www.microsoft.com/en-us/download/details.aspx?id=39366Useful Guide for Installation of the Teams Environment
https://social.technet.microsoft.com/wiki/contents/articles/52052.microsoft-teams-administration-powershell-admin-center.aspxOnce these packages are installed and your Power Shell environment is ready you will need to do the following:
- Start Power Shell as Administrator (or with Administrator Priveleges)
- Run the following commands in Power Shell:
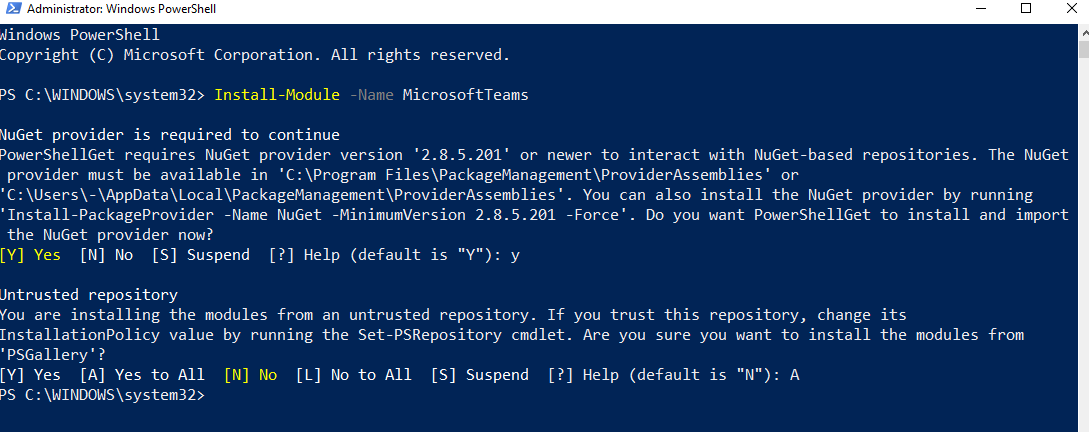
Install-Module -Name MicrosoftTeams - NuGet Provider is required to continue. Confirm by pressing 'Y'
- Untrusted Repository. Confirm by pressing 'A'
- Download and install SkypeOnlinePowerShell.exe from the following link if you have not done this already
https://www.microsoft.com/en-us/download/details.aspx?id=39366 - Restart Power Shell and run as Administrator
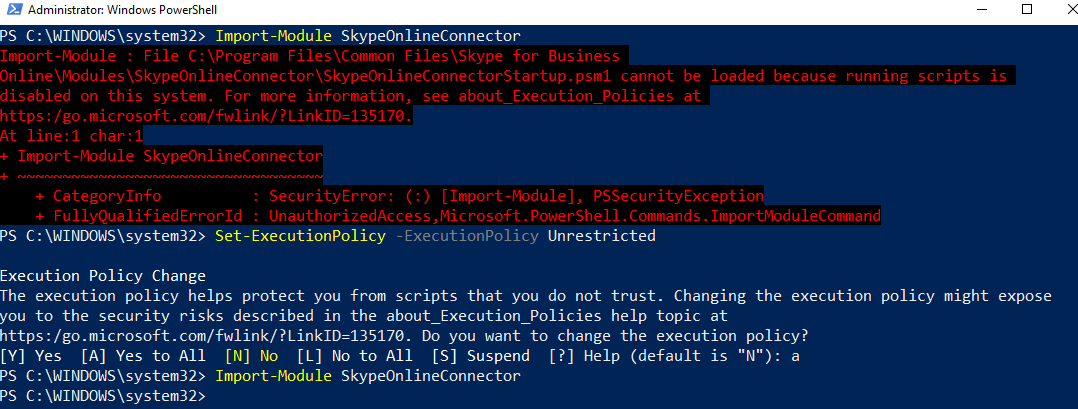
- Change execution policy by typing the following command in Power Shell
Set-ExecutionPolicy -ExecutionPolicy Unrestricted - For the Execution Policy change confirm by pressing 'A'. (Click here for additional information)
- Now run the following commands in Power Shell replacing <youradminemail> with your Administrator Email in Office 365:
Import-Module SkypeOnlineConnector $acctName="<youradminemail>"
$sfbSession = New-CsOnlineSession -UserName $acctName
Import-Module MicrosoftTeams
Import-Module SkypeOnlineConnector
$userCredential = Get-Credential
$sfbSession = New-CsOnlineSession -Credential $userCredential
Import-PSSession $sfbSession
1. Establishing Your Session
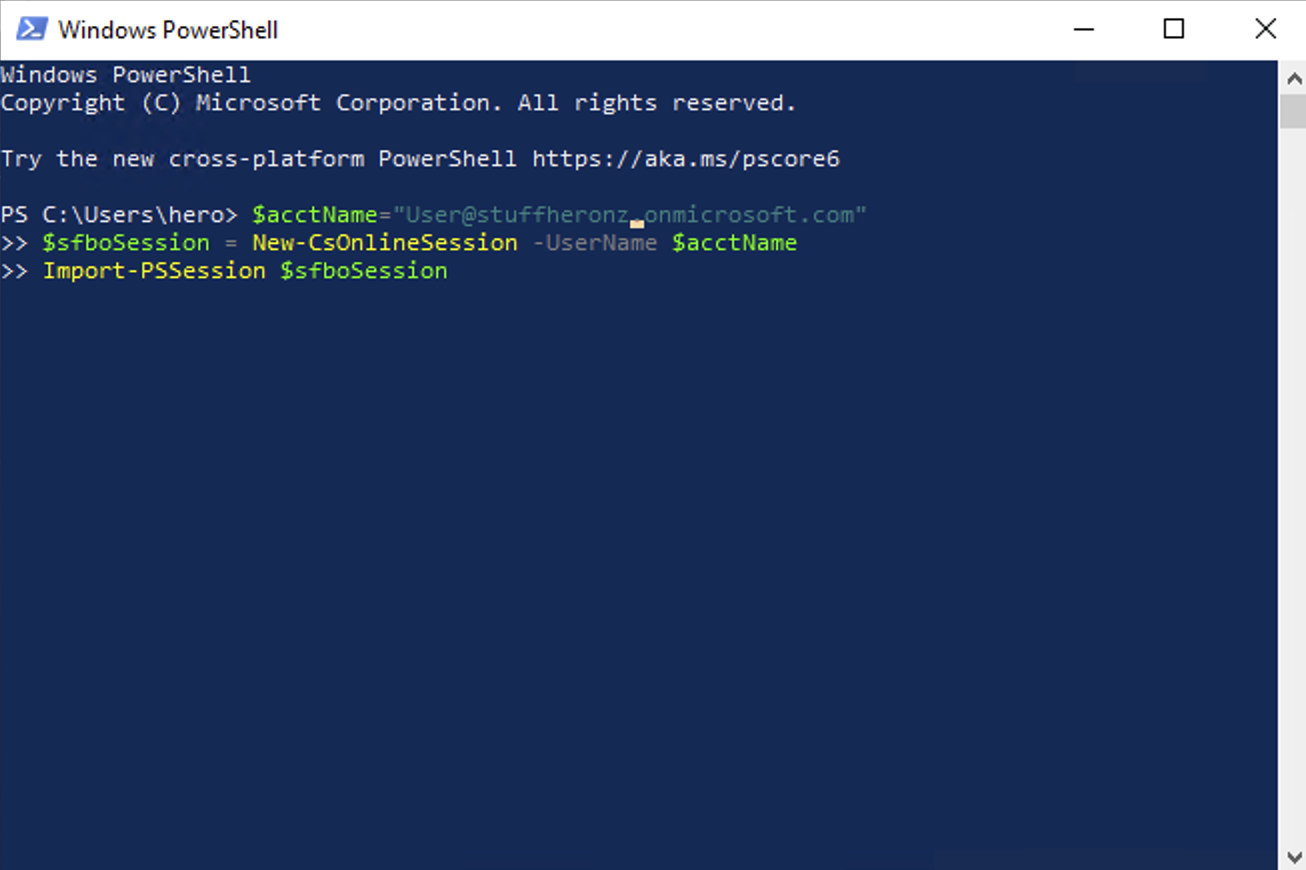
The format for this command is similar to the below commands (where User@yourdomain.onmicrosoft.com would be replaced with your own administrator login details you use to manage your Microsoft Office 365 account)
$acctName="User@yourdomain.onmicrosoft.com"
$sfboSession = New-CsOnlineSession -UserName $acctName
Import-PSSession $sfboSession
Enter your Microsoft User Password
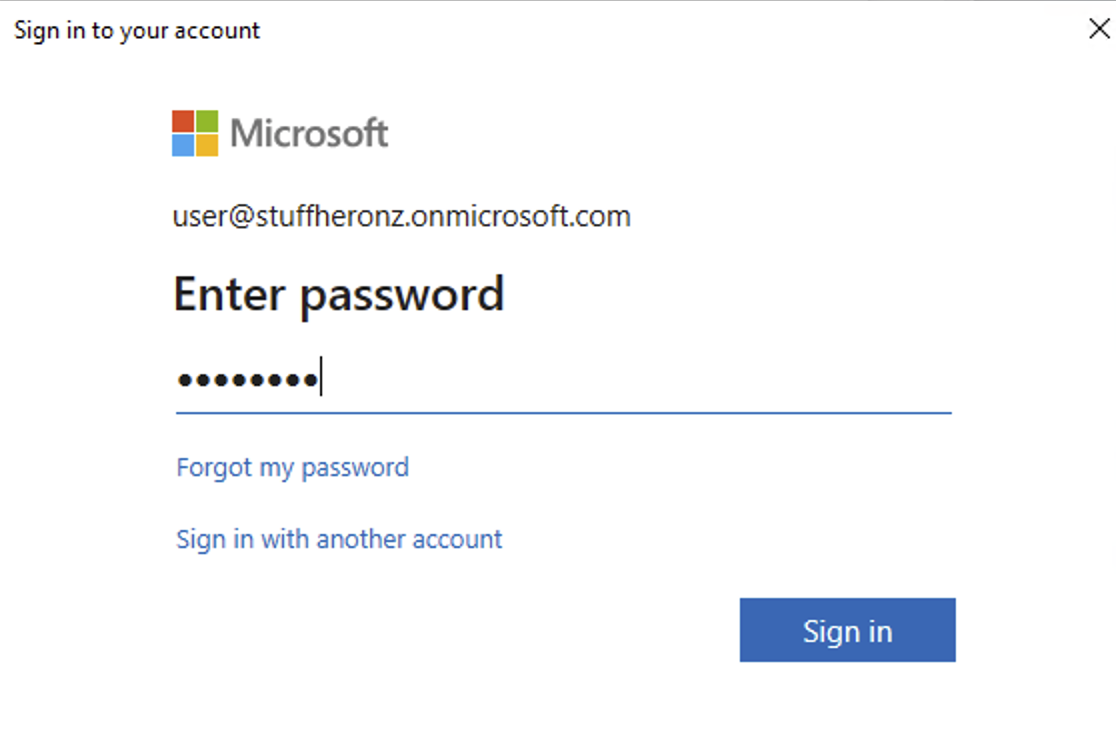
You should now be logged into a new session in the Power Shell and can start executing commands
2. For Each Domain (Tenant) in Teams
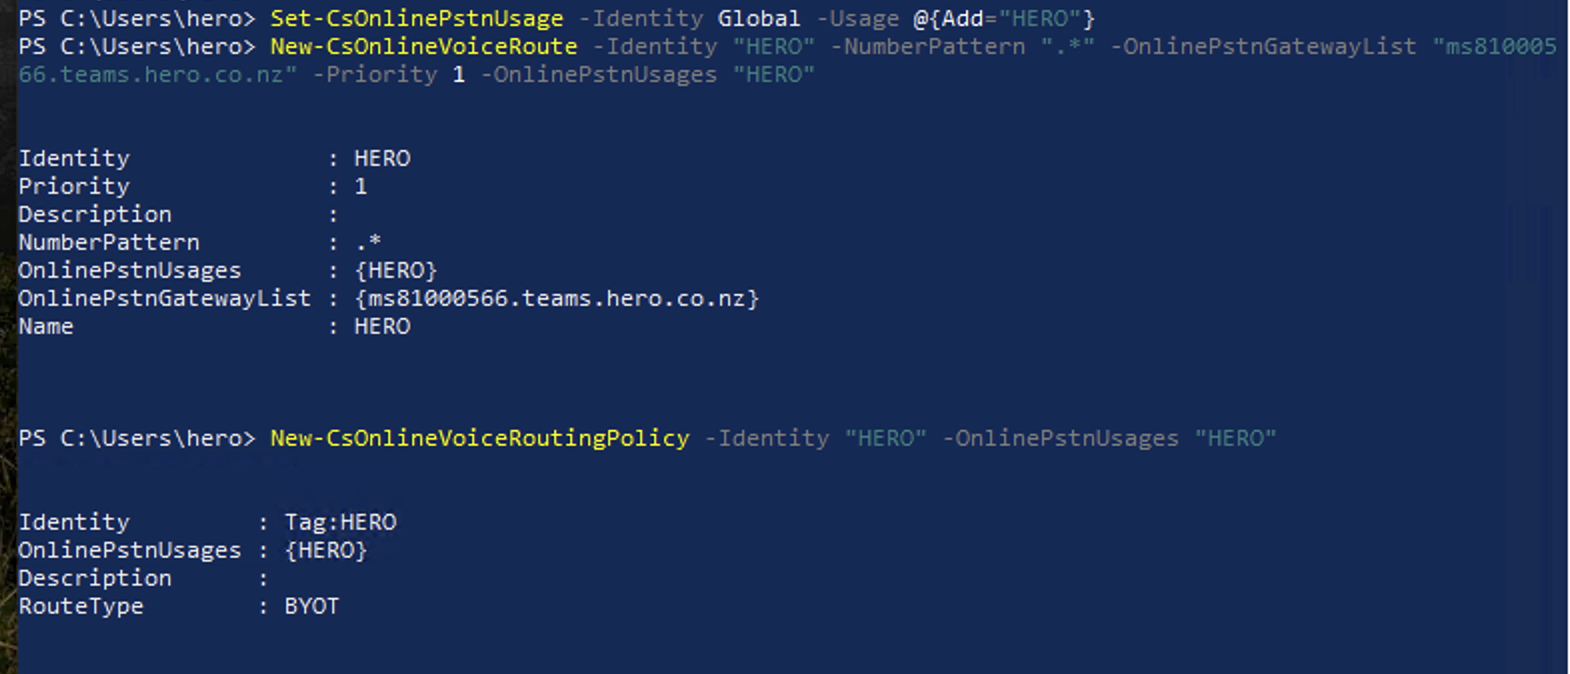
Next paste the other tenant commands to setup the PSTN identity and Voice route details and then assign the calling and voice routing policy to your first user. This should look something like:
Set-CsOnlinePstnUsage -Identity Global -Usage @{Add="VOIP"}
New-CsOnlineVoiceRoute -Identity "VOIP" -NumberPattern ".*" -OnlinePstnGatewayList "ms81012345.sbc.msteams.uk" -Priority 1 -OnlinePstnUsages "VOIP"
New-CsOnlineVoiceRoutingPolicy -Identity "VOIP" -OnlinePstnUsages "VOIP"
3. For Each of your Users
If you have more than a single user then you will need to now map a phone number to each of your Teams users using the following commands. The example below assumes that our example user Joe@herointernet.nz is going to be assigned the phone number 442034567890 (added to Microsoft with the full country code format as +442034567890) and we are still using the Identity of "VOIP". Replace these as required for your own circumstances.
Moving From Skype for Business to Microsoft Teams
If your company is currently using Skype for Business, you have to upgrade to Teams and enable the Phone System feature. This process requires a bit of prior planning, so check out the Microsoft articles for more information.
If you are using Skype for Business, this will help you:
FAQ:
https://docs.microsoft.com/en-us/microsoftteams/faq-journey
Getting started:
https://docs.microsoft.com/en-us/microsoftteams/upgrade-start-here
Deployment and implementation:
https://docs.microsoft.com/en-us/microsoftteams/upgrade-to-teams-execute-skypeforbusinessonline
If you have any questions or technical problems, get in touch with our support team.